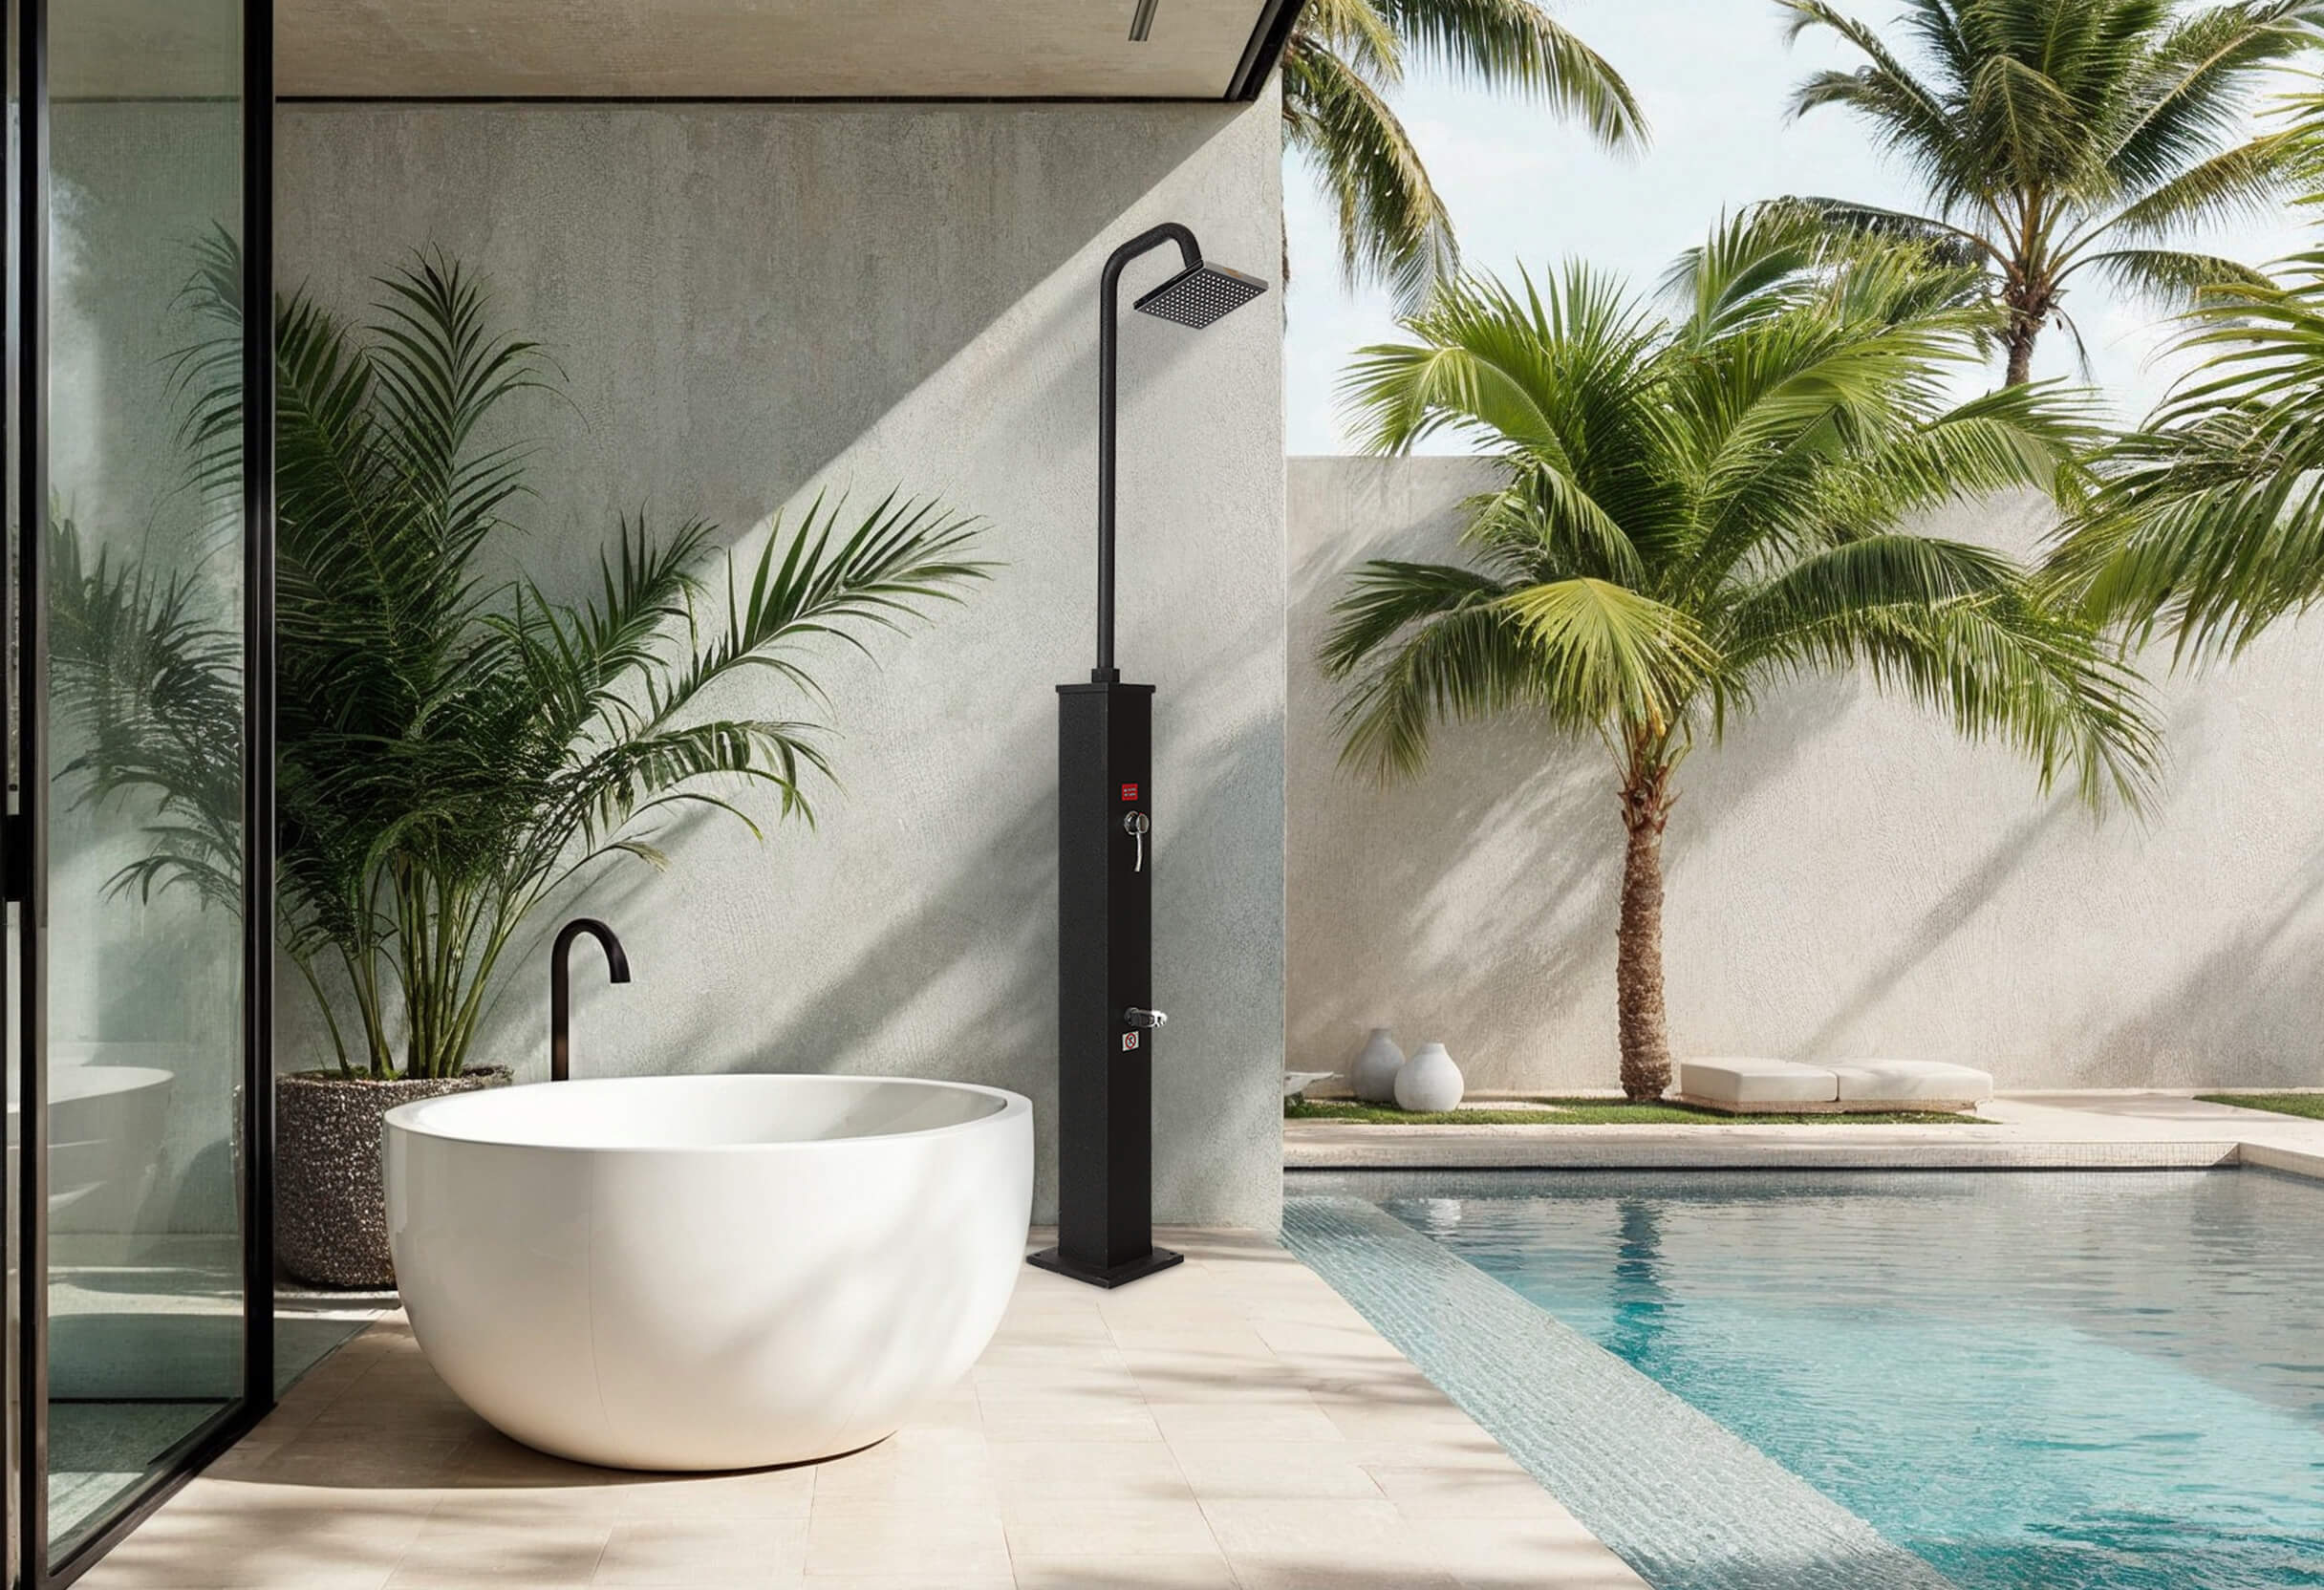
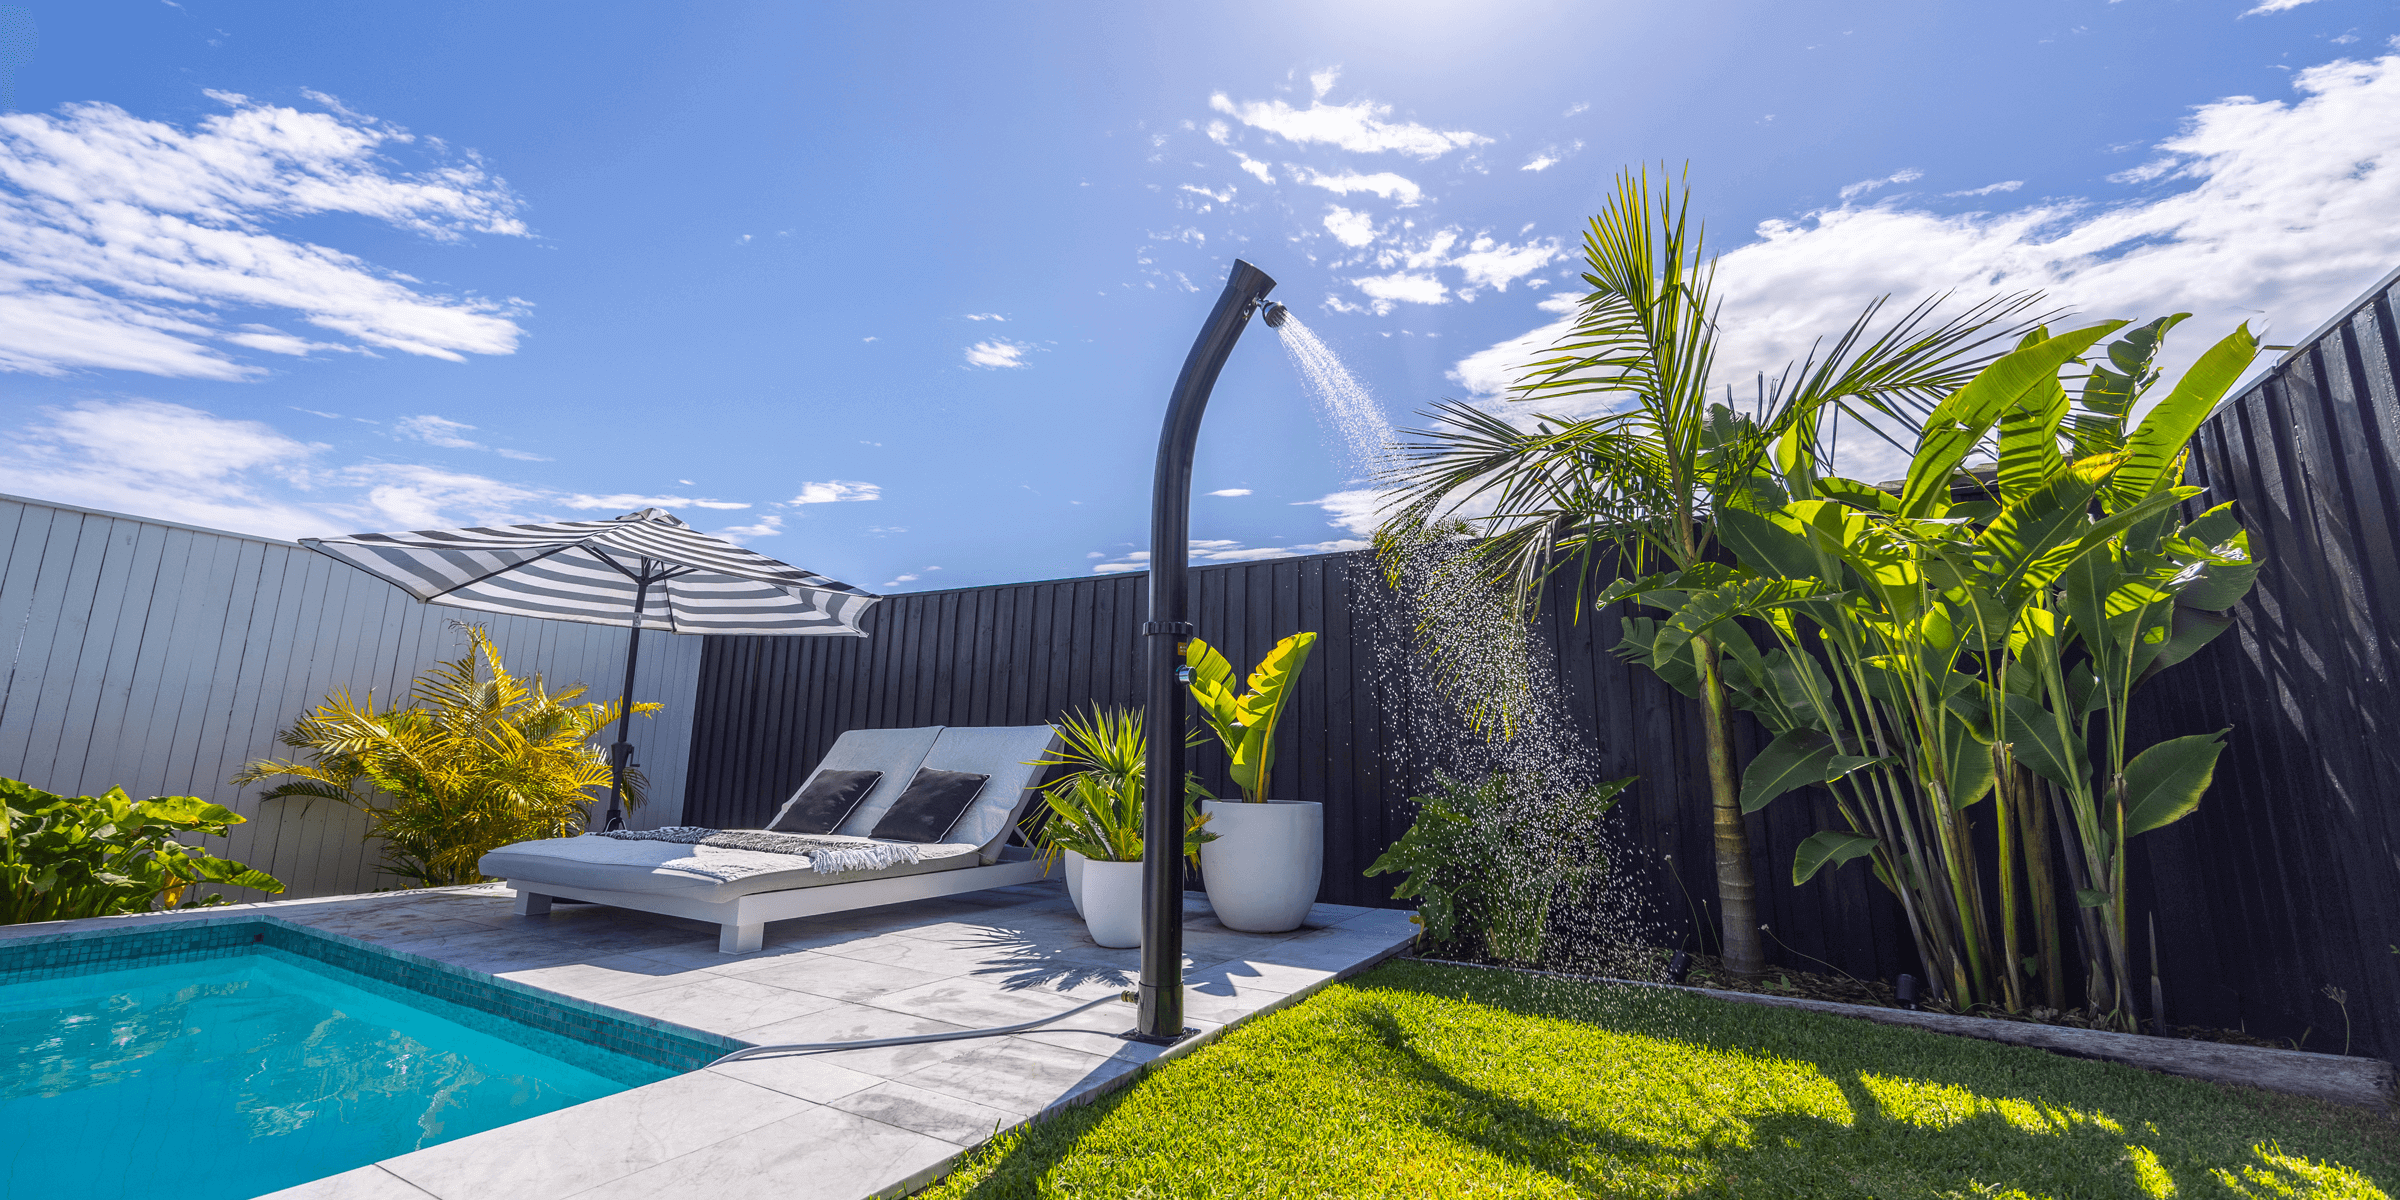
Essential Guide to Outdoor Shower Kits

An outdoor shower transforms your backyard into a haven of convenience and enjoyment. These pre-assembled kits provide everything you need for a refreshing rinse after a swim, a day at the beach, or a hot summer day.

But with various types on the market, selecting the right one is key. Let’s explore the different options to find your perfect outdoor shower kit.
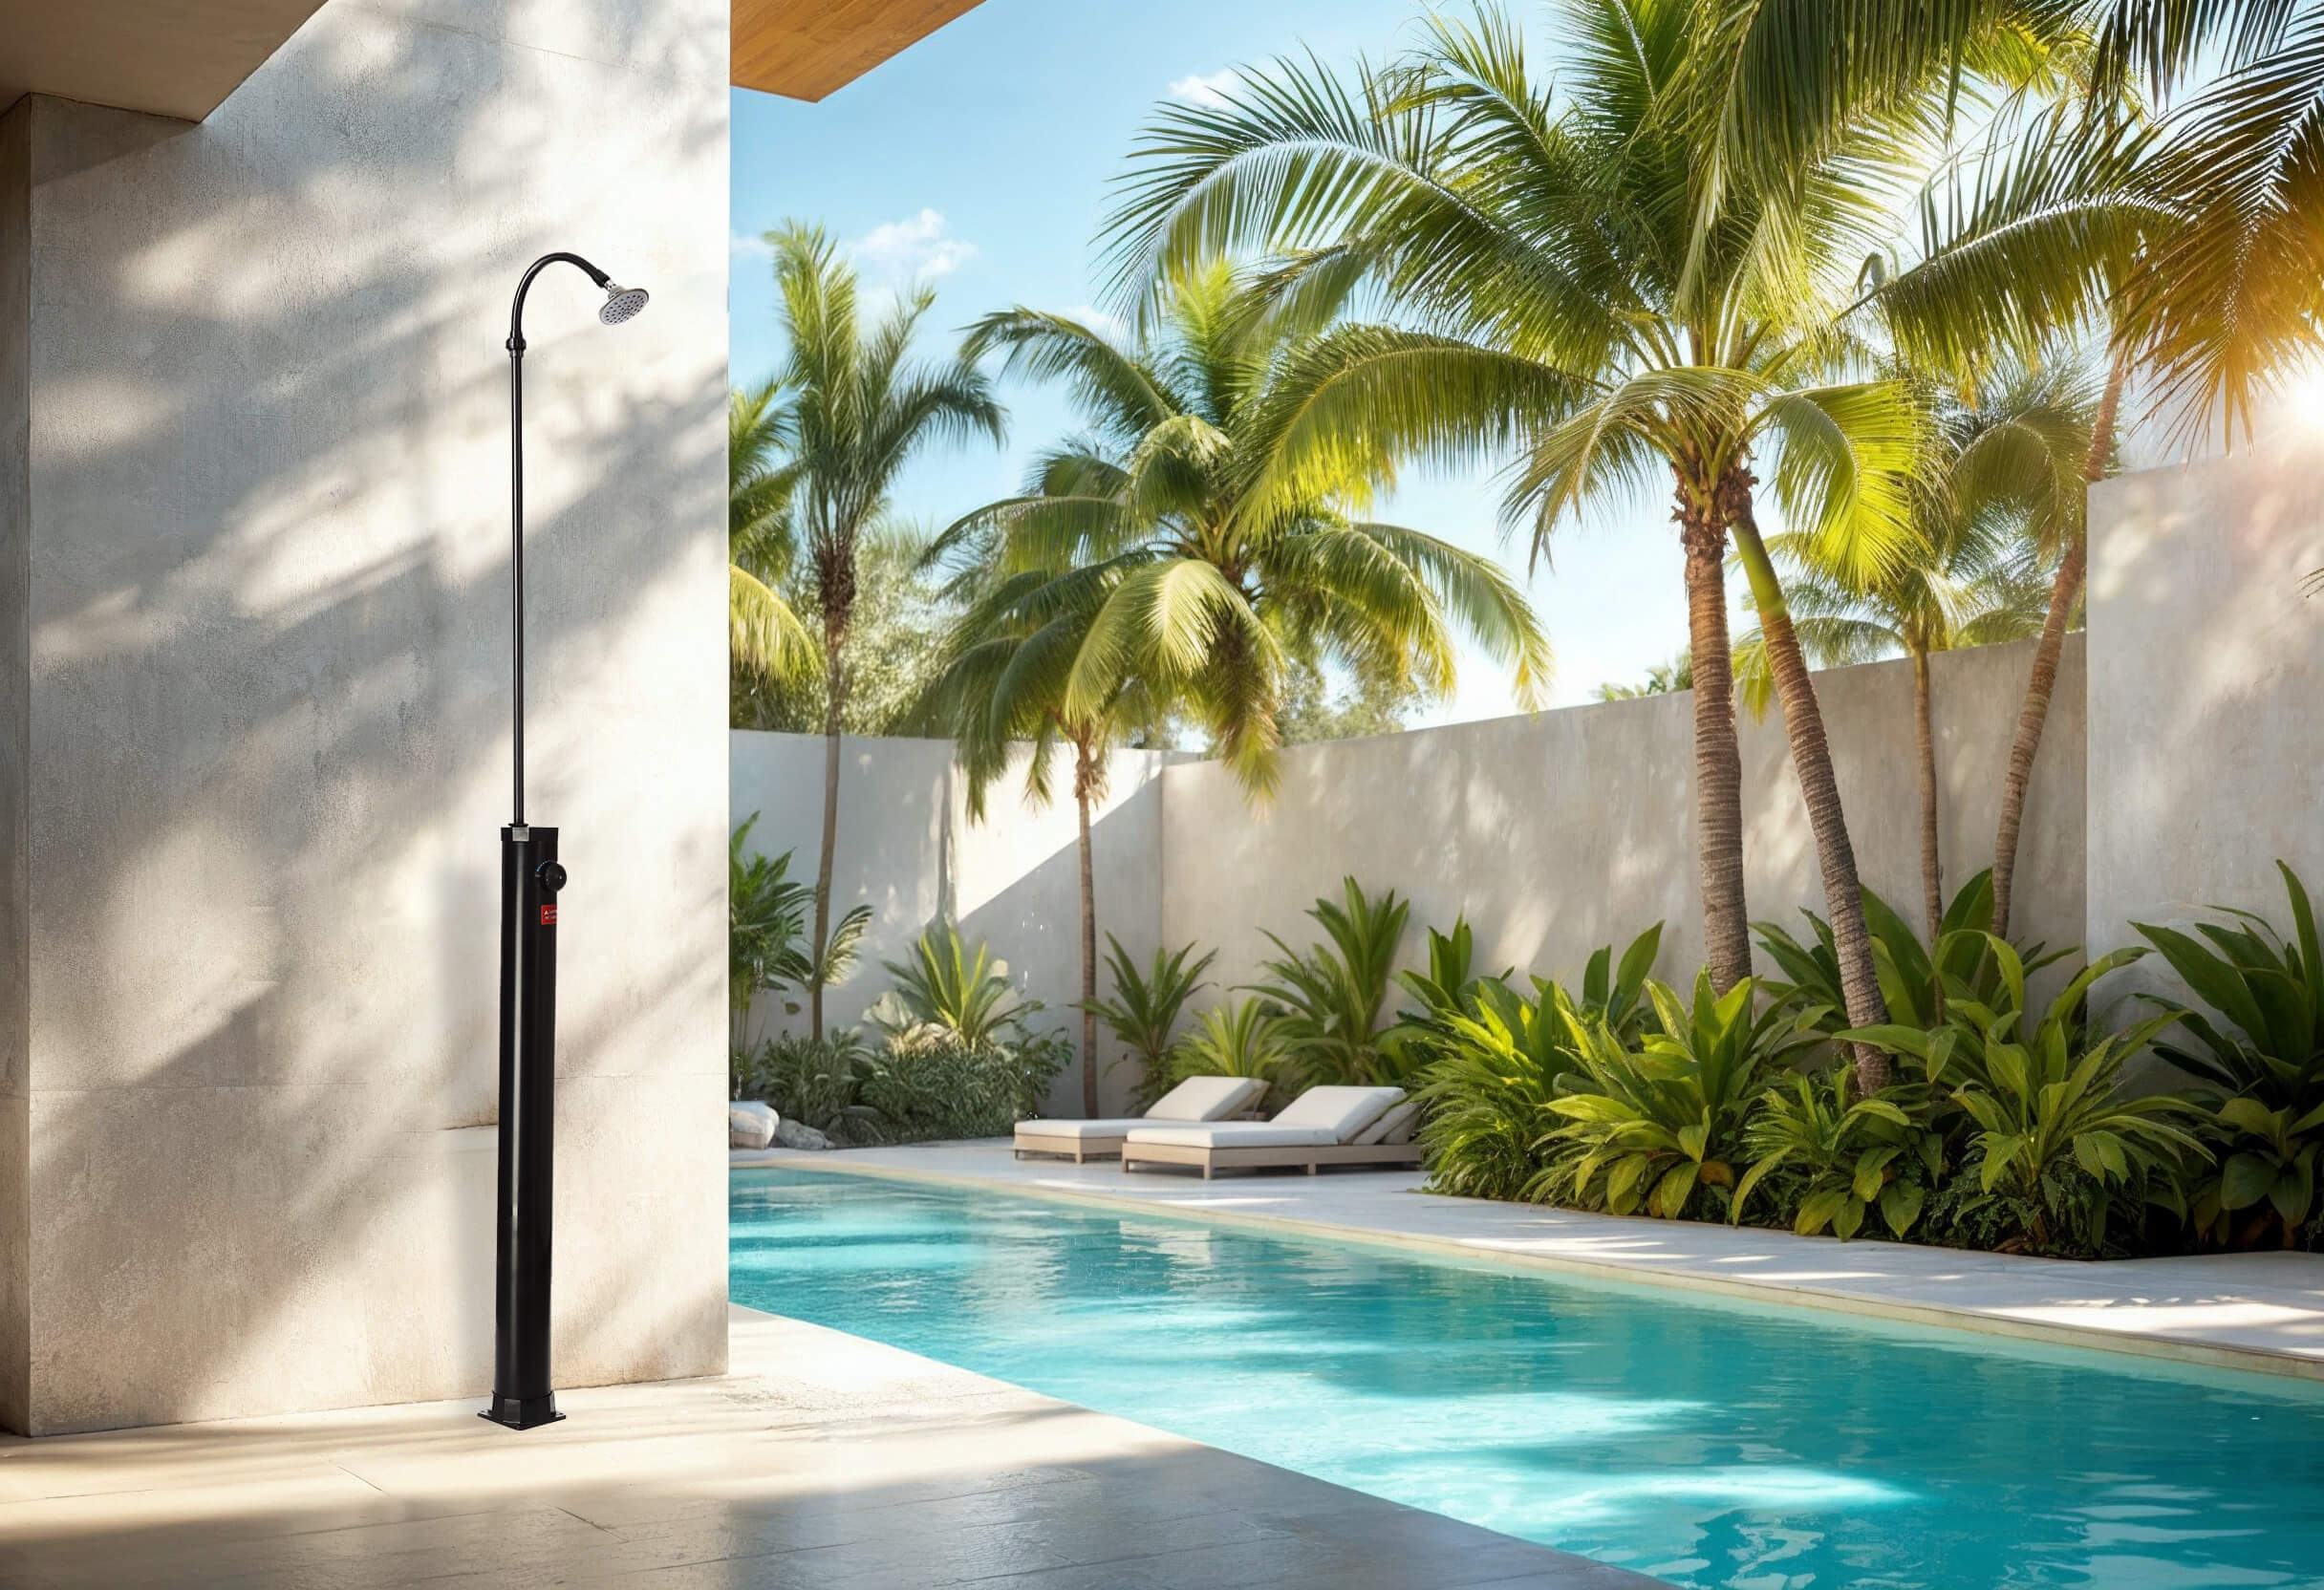
Types of Outdoor Shower Kits

By understanding the types of outdoor shower kits and their pros and cons, you can choose the best fit for your outdoor space and needs.

Freestanding outdoor showers don’t need wall support and can be placed almost anywhere in your backyard, offering great flexibility.

Pros:

  • Highly portable and movable.
  • Easy to install.
  • Ideal for renters or temporary solutions.

Cons:

  • May need a stable base to prevent tipping.
  • Less sturdy than wall-mounted options.

Wall-mounted showers are installed on an exterior wall, providing a seamless, elegant look.

Pros:

  • Very sturdy and durable.
  • Saves ground space.
  • More aesthetically pleasing.

Cons:

  • Requires a suitable wall for installation.
  • Less portable and harder to move.
Solar-powered showers use sunlight to heat water in their built-in tank.

Pros:

  • Environmentally friendly and cost-effective.
  • Provides warm water without extra energy.
  • Easy to set up and use.

Cons:

  • Heating depends on sunlight availability.
  • Water temperature may be inconsistent.
Portable outdoor shower kits are designed for mobility and convenience, perfect for camping, beach trips, or temporary needs.

Pros:

  • Highly portable and easy to transport.
  • Quick setup without permanent installation.
  • Great for temporary use.

Cons:

  • Limited water capacity.
  • Less durable and limited features.

Choosing the Right Location

  • Privacy- Choose a location shielded from neighbours and passersby using natural barriers like hedges, trees, or tall plants, or install privacy screens or fences for a comfortable experience.

  • Proximity to Water Source- Select a spot close to an existing water source, such as an outdoor faucet, to simplify installation. This reduces plumbing work, saving time and costs.
  • Sun Exposure- For solar-powered showers, position the shower in a sunny spot to efficiently heat the water. For other showers, sun exposure helps the area dry quickly, reducing the risk of mould and mildew.
  • Drainage- The site should have good natural drainage or a slight slope to direct water flow away from structures. To manage excess water, use gravel and stones beneath the shower.
  • Accessibility- Ensure easy access from your yard or pool area without walking through dirt or grass. Pave a path with stones, tiles, or wooden planks to enhance functionality and aesthetics.

Installation Tips

Step 1: Gather Tools and Materials

You will need an outdoor shower kit and, depending on the model, a shovel, screwdriver, level, drill, wrench, thread tape, pipe cutter, safety gloves, and glasses.

Step 2: Choose and Prepare the Location

Choose a location with privacy, water source proximity, sun exposure, drainage, and accessibility. Clear the area of debris. You may need to use a shovel to make the ground level, as an uneven surface can complicate installation.

Step 3: Install the Base or Floor

Create a stable base or floor for your shower. This could be a concrete pad, decking, or gravel. Use a level to make sure the base is even. For a gravel base, ensure it’s deep enough for proper drainage.

Step 4: Assemble the Shower Kit

Follow the instructions to assemble your shower kit. This typically involves connecting pipes, valves, and the outdoor showerhead. Use thread tape on threaded connections for a watertight seal. Ensure all connections are tight.

Step 5: Connect to the Water Supply

Turn off the water supply during this process to avoid leaks.
Connect the shower to your water source, like an outdoor faucet, hose, or a dedicated water line. Use pipe wrenches for tightening connections and a drill, if needed, for securing the shower.

Step 6: Test

Turn on the water supply to test for leaks or issues. Check all connections to ensure water flows correctly without drips or leaks. Adjust as necessary.

By following these steps and addressing common challenges, you can successfully install an outdoor shower kit and enhance your outdoor space.

Design Ideas for Outdoor Showers

An outdoor shower can be a stunning focal point in your garden or yard.
Here are some creative ideas to enhance its aesthetics:

Materials and Finishes

Use natural materials like stone, wood, or bamboo for a rustic look.
Reclaimed wood panels for a vintage feel.
Sleek stainless steel fixtures for a modern vibe.

Accessories and Decor

Add wooden benches or built-in seating.
Hooks, shelves, or storage baskets for toiletries and towels.
Lighting like waterproof LED strips or solar lanterns for ambience.

Incorporate these ideas to create a beautiful and practical outdoor shower, transforming a simple rinse-off into a luxurious experience.

Maintenance and Care

Maintaining your outdoor shower is crucial to ensure it remains functional and attractive over time.
Follow these tips for caring for different materials and keeping your shower in top condition:

  • Stainless Steel

    • Cleaning: Clean with a stainless steel cleaner or a mixture of vinegar and water. Rinse and dry to prevent water spots.
    • Polishing: Use a stainless steel polish to keep fixtures looking shiny and new.
  • Natural Stone

    • Regular Cleaning: Use a mild, pH-balanced soap and water solution to clean stone surfaces. Avoid abrasive or acidic cleaners that can damage the stone.
    • Sealing: Apply a high-quality stone sealer once a year to protect against moisture and prevent staining.
  • Wood

    • Cleaning: Clean wooden surfaces with a gentle soap solution and a soft brush. Rinse thoroughly and allow to dry.
    • Sealing and Staining: To protect against moisture, mould, and UV damage, apply a water-resistant sealant or wood stain at least once a year.
    • Ventilation: Ensure proper ventilation to prevent rot and mildew.
  • General Maintenance Tips

    • Winterising: In colder climates, winterise your shower by draining all water from pipes and fixtures to prevent freezing and bursting.
    • Inspect Regularly: Perform regular inspections to identify any maintenance needs early. Fix issues such as leaks, clogs, or loose fixtures promptly.

By following these maintenance tips, you can extend the life of your outdoor shower and keep it looking and functioning beautifully for years to come.

FAQs About Outdoor Shower Kit

How Do I Make a Simple Outdoor Shower?2024-11-14T16:33:13+11:00

Attach a showerhead to a garden hose, mount it securely, and connect it to an outdoor water source. Ensure good drainage, and consider adding a privacy screen for comfort.

How Much Does It Cost To Build an Outdoor Shower?2024-11-14T16:34:36+11:00

The cost of building an outdoor shower varies depending on the design, materials used, and labour costs. A basic DIY shower can cost as little as $100, while more elaborate designs with professional installation can range from $500 to $5,000.

What Plumbing Is Needed for an Outdoor Shower?2024-11-14T16:35:47+11:00

An outdoor shower will require a water supply, drainage system, and possibly hot water plumbing if desired. For easy installation, choose an outdoor shower kit with a hose connection.

What Is the Best Base for an Outdoor Shower?2024-11-14T16:36:21+11:00

The best base for an outdoor shower is one that provides good drainage and is slip-resistant. Options include gravel, concrete, tile, or a wooden deck with spaces between the boards to allow water to drain.
Consider using a material that can withstand exposure to water and various weather conditions.

Start Your Outdoor Shower Project With Hy-Clor

Selecting the ideal outdoor shower in Australia requires careful consideration of design and materials. A high-quality kit should feature durable, weather-resistant materials and straightforward plumbing connections.
An outdoor shower seamlessly combines practicality with a touch of luxury, making it perfect for rinsing off after a refreshing swim or cooling down after a hard day of yard work.
Explore Hy-Clor’s range of outdoor shower kits and accessories to find the perfect match.

2024-11-14T18:46:33+11:00
Go to Top