

On This Page
How to Install an Outdoor Shower with Hot Water: Choosing the Best Location & Setup Tips for Your Solar Shower
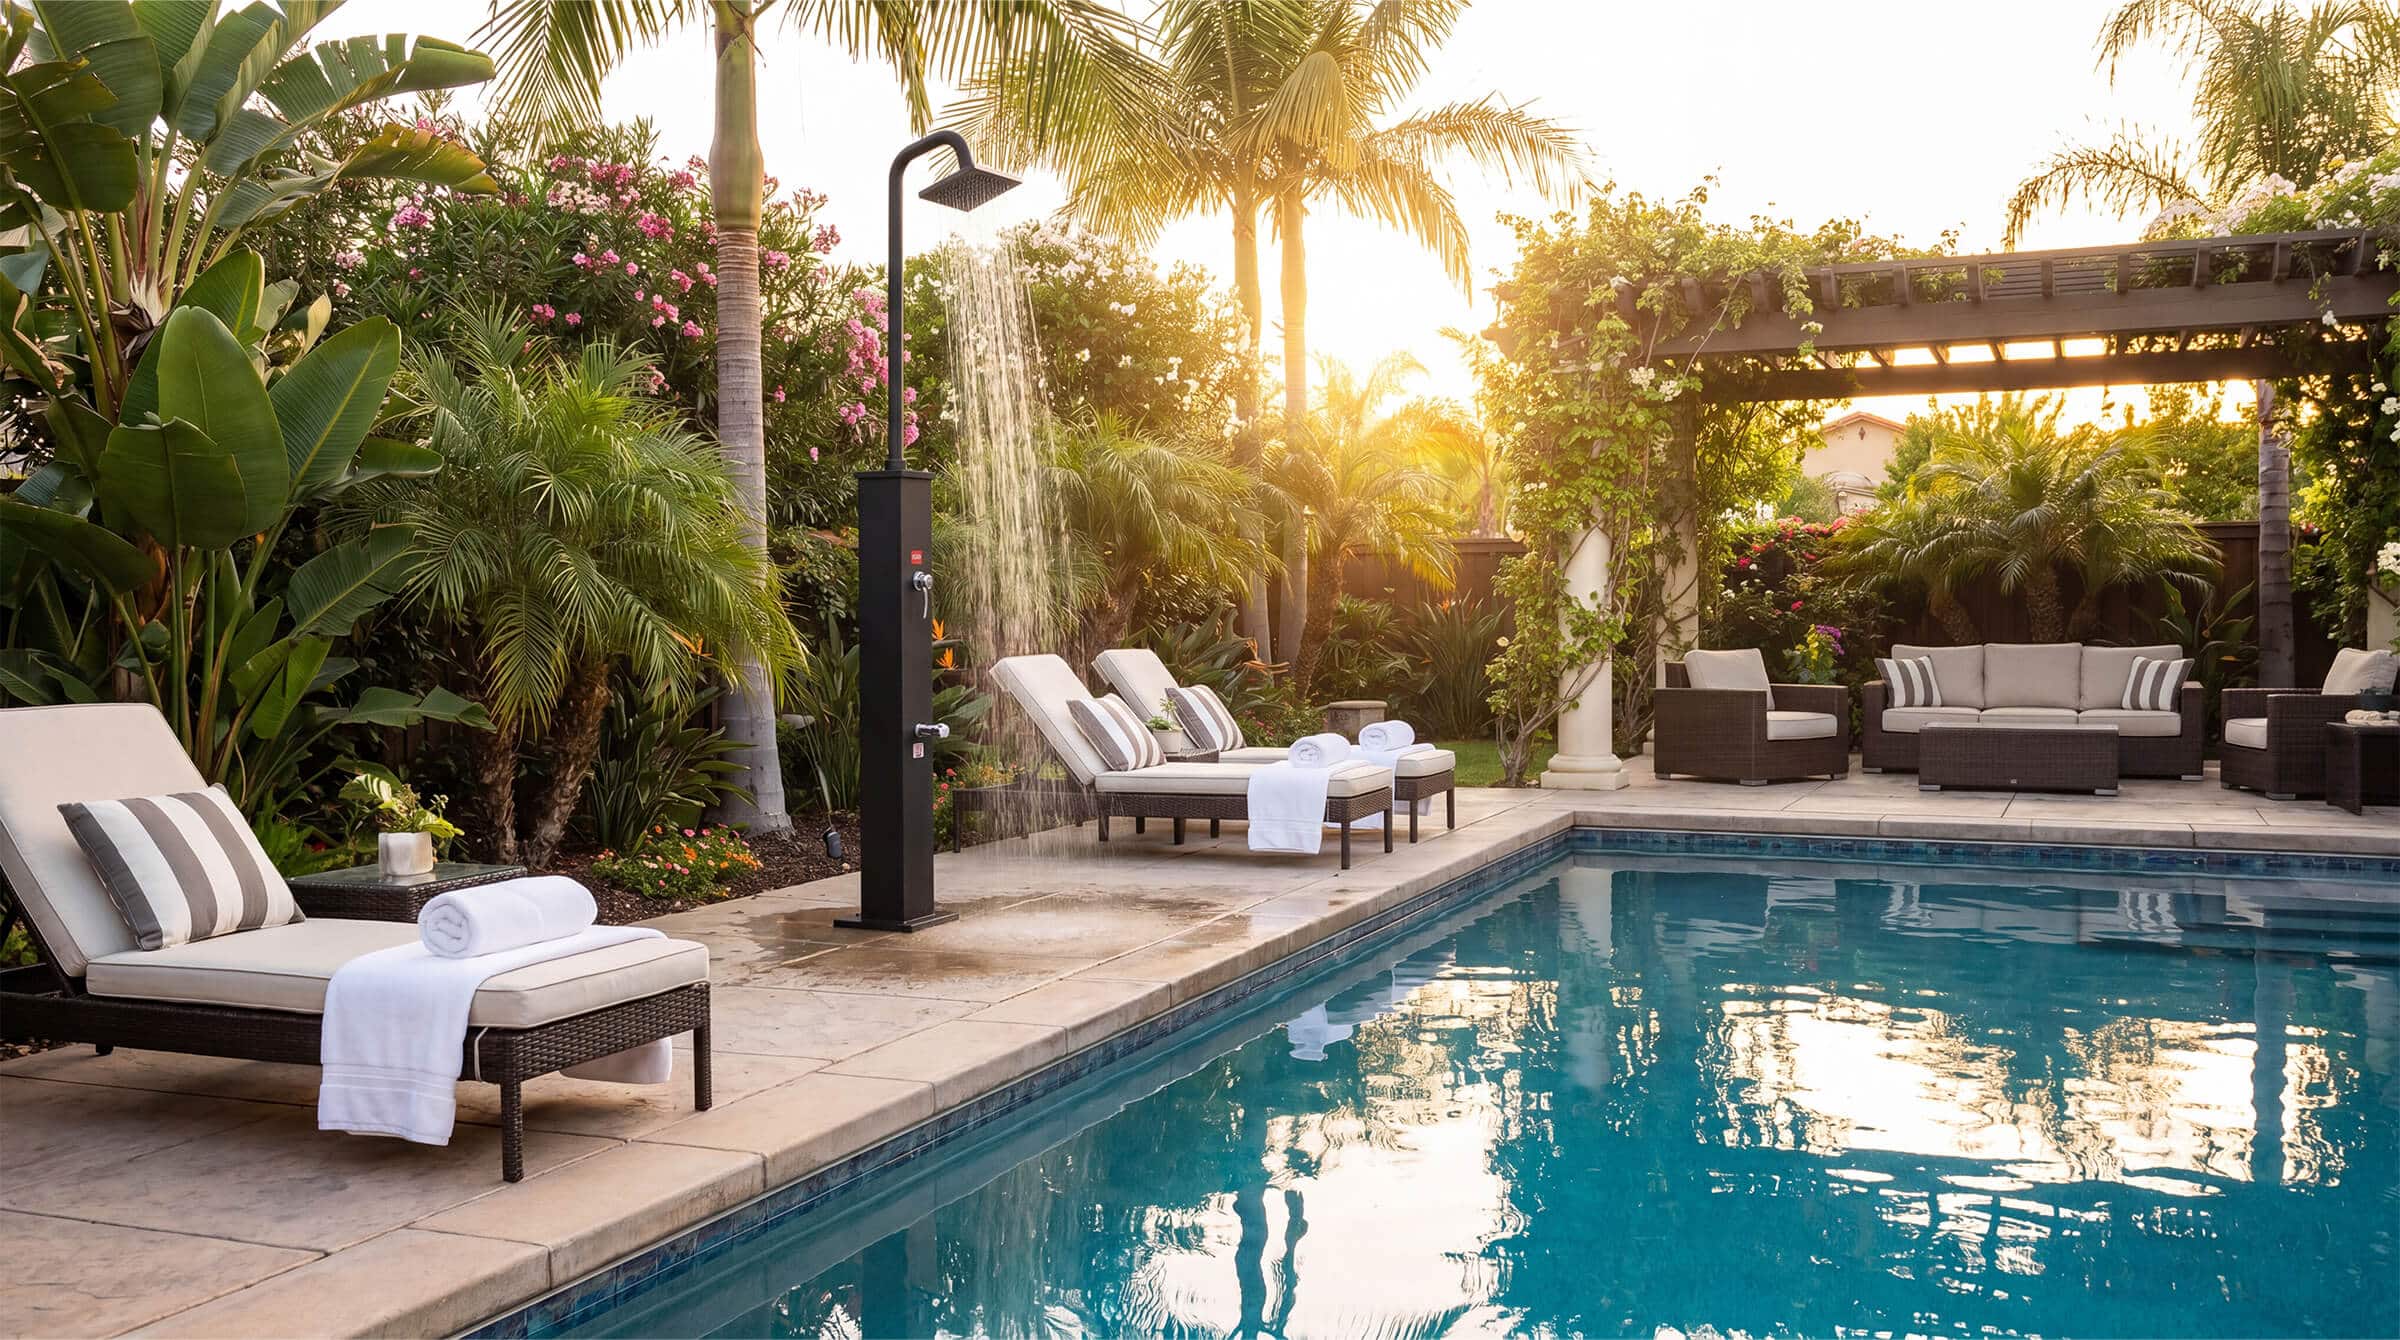
There’s nothing like rinsing off after a swim in your pool, washing away sand after the beach, or cleaning up after gardening in the comfort of your backyard, instead of traipsing wet feet, sand, and mud through your house!
More Aussie homeowners are adding outdoor showers to their backyards because they make everyday outdoor living easier and a little more luxurious. Even better than a standard outdoor shower is a solar-powered one. It gives you warm water using the sun’s energy, making it a smart choice for eco-friendly living.
We’ll walk you through how to install an outdoor shower with hot water, from choosing the best location to solar shower setup tips.
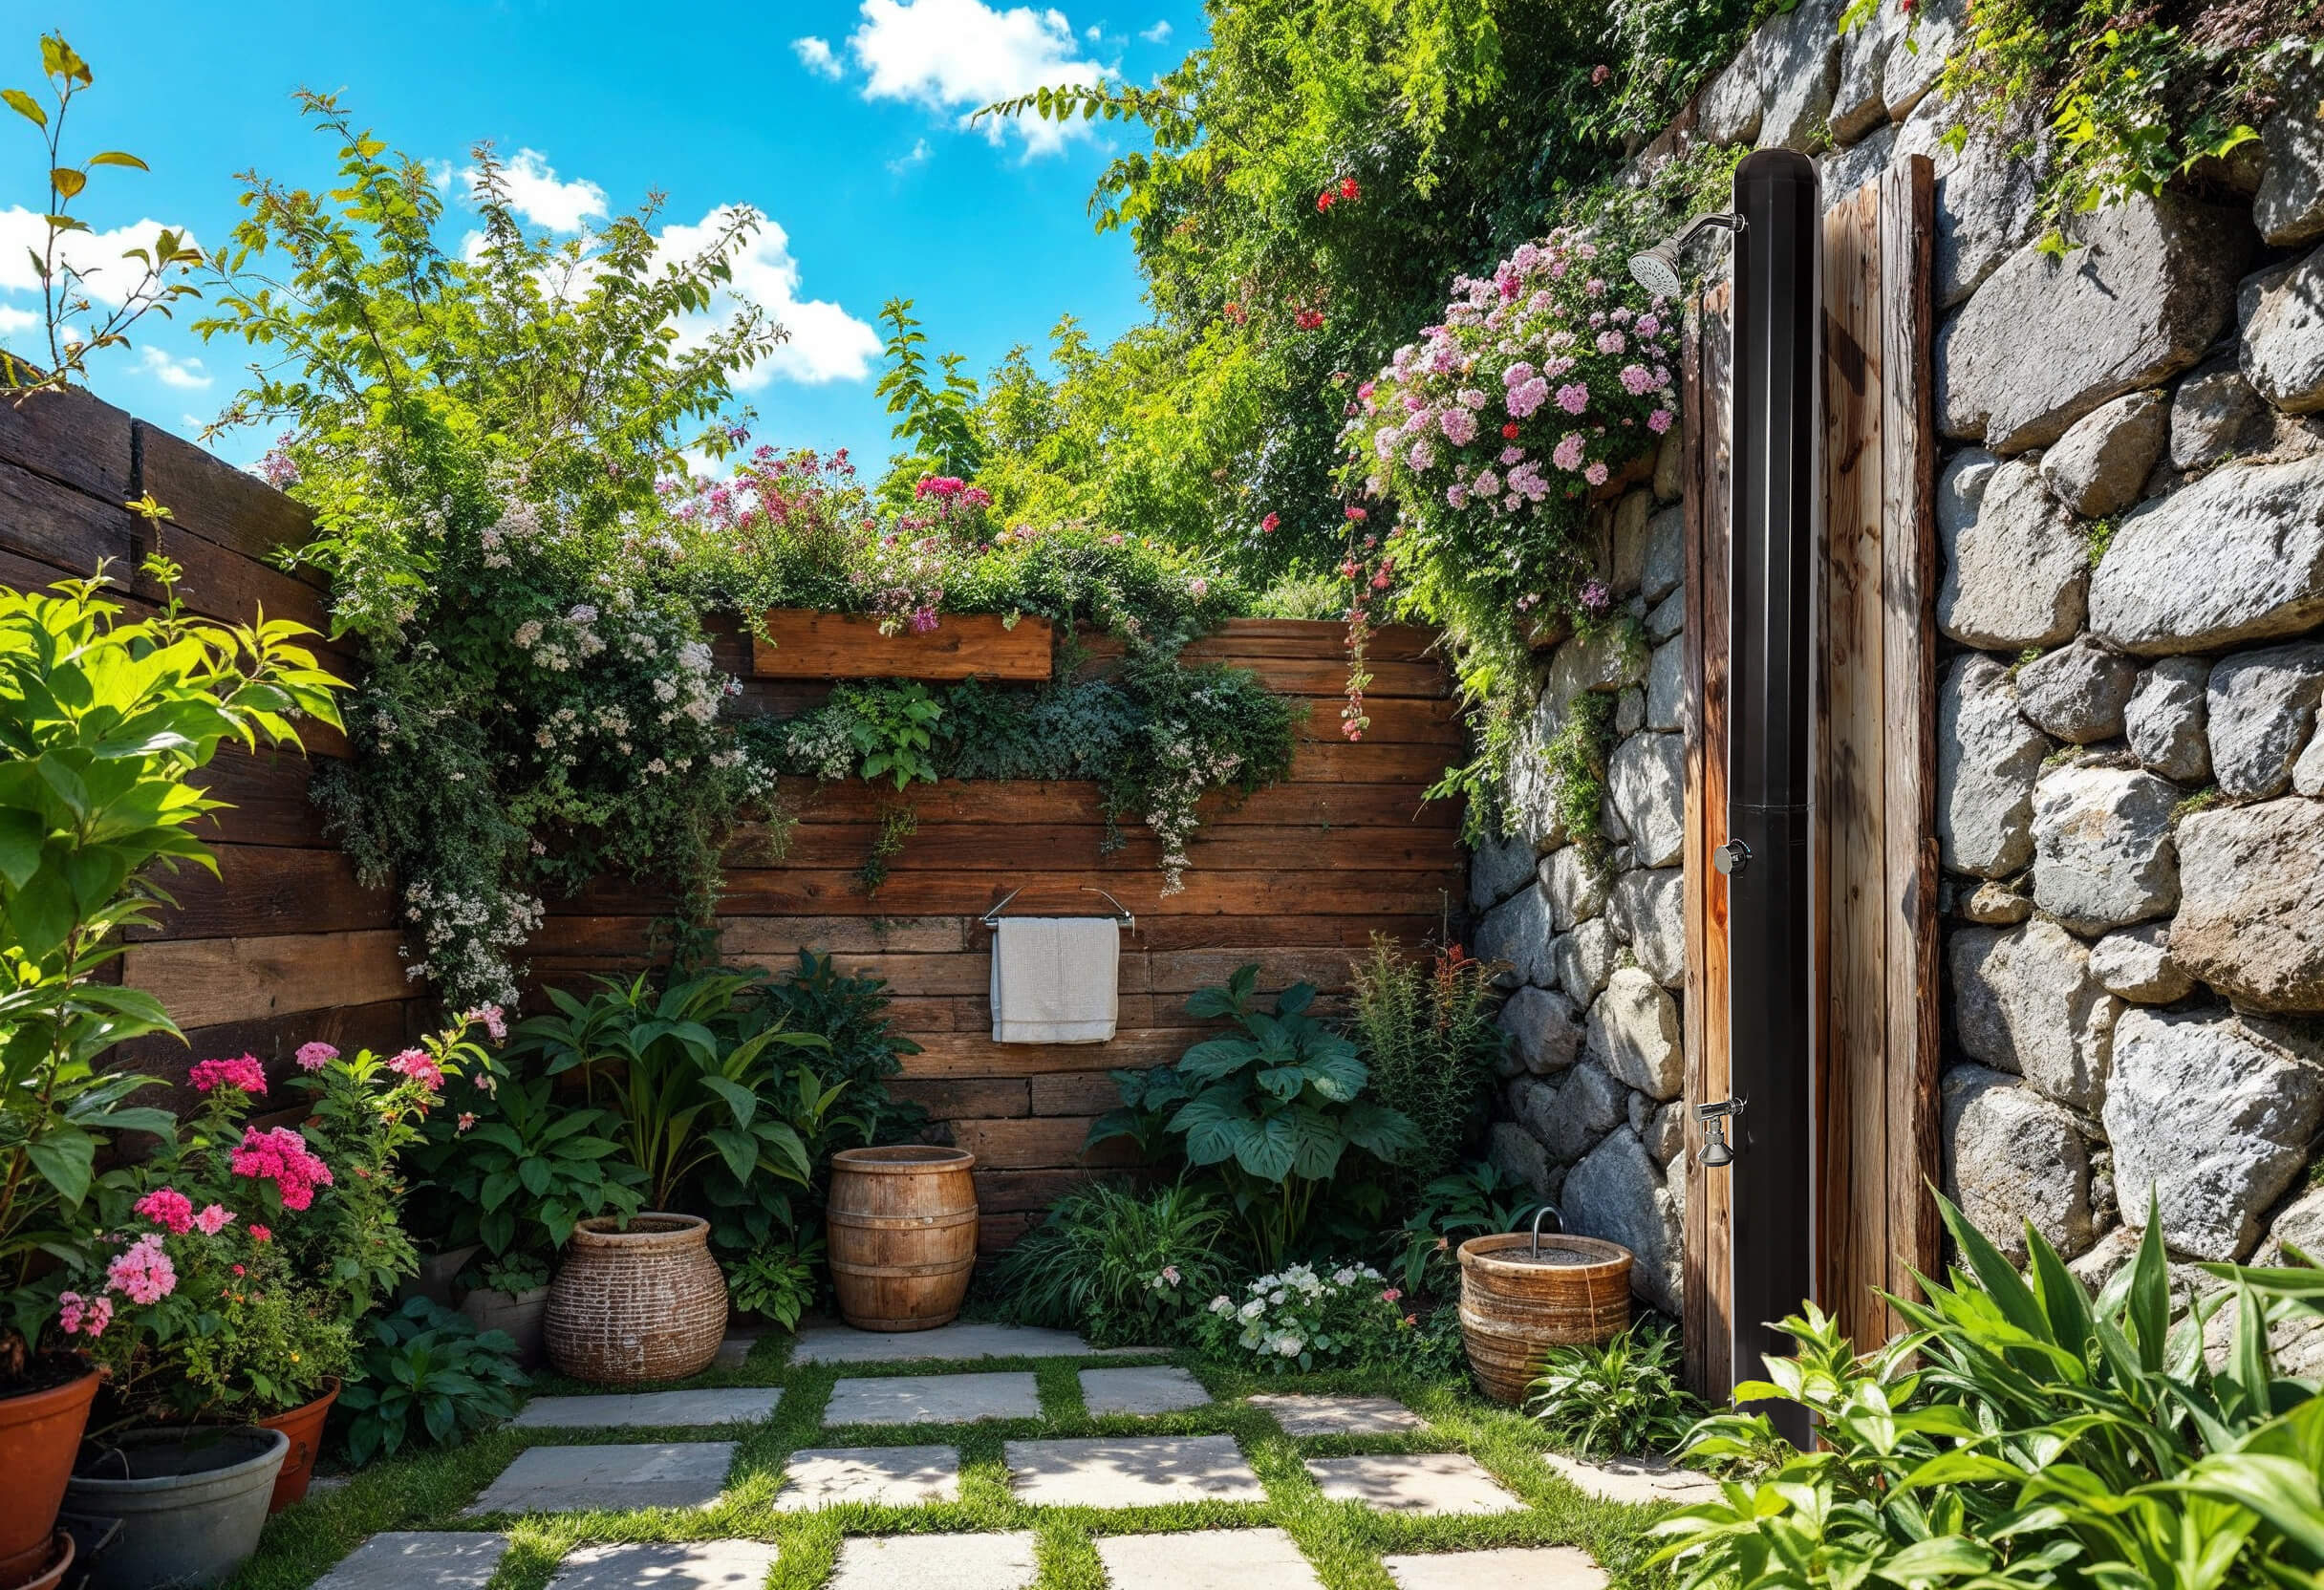
Why Choose an Outdoor Solar Shower for Hot Water?
- Eco-Friendly:
Use the sun’s energy to warm the water, helping you cut down on electricity use while making the most of Australia’s sunny climate. - Cost-Effective:
Enjoy warm water without adding to your energy bills. - Hygiene:
Wash away chlorine, salt, sand, sunscreen, sweat, dirt, and grass before heading indoors. - Luxurious Upgrade:
Make your pool area, garden, or alfresco space feel more like a private spa retreat. - Easy to Install:
Many outdoor showers are simple to set up, especially when positioned near an existing water source and a suitable drainage area.
Choosing the Best Location for Your Outdoor Solar Shower
To get the most from your outdoor solar shower, it’s all about location, location, location!
Consider
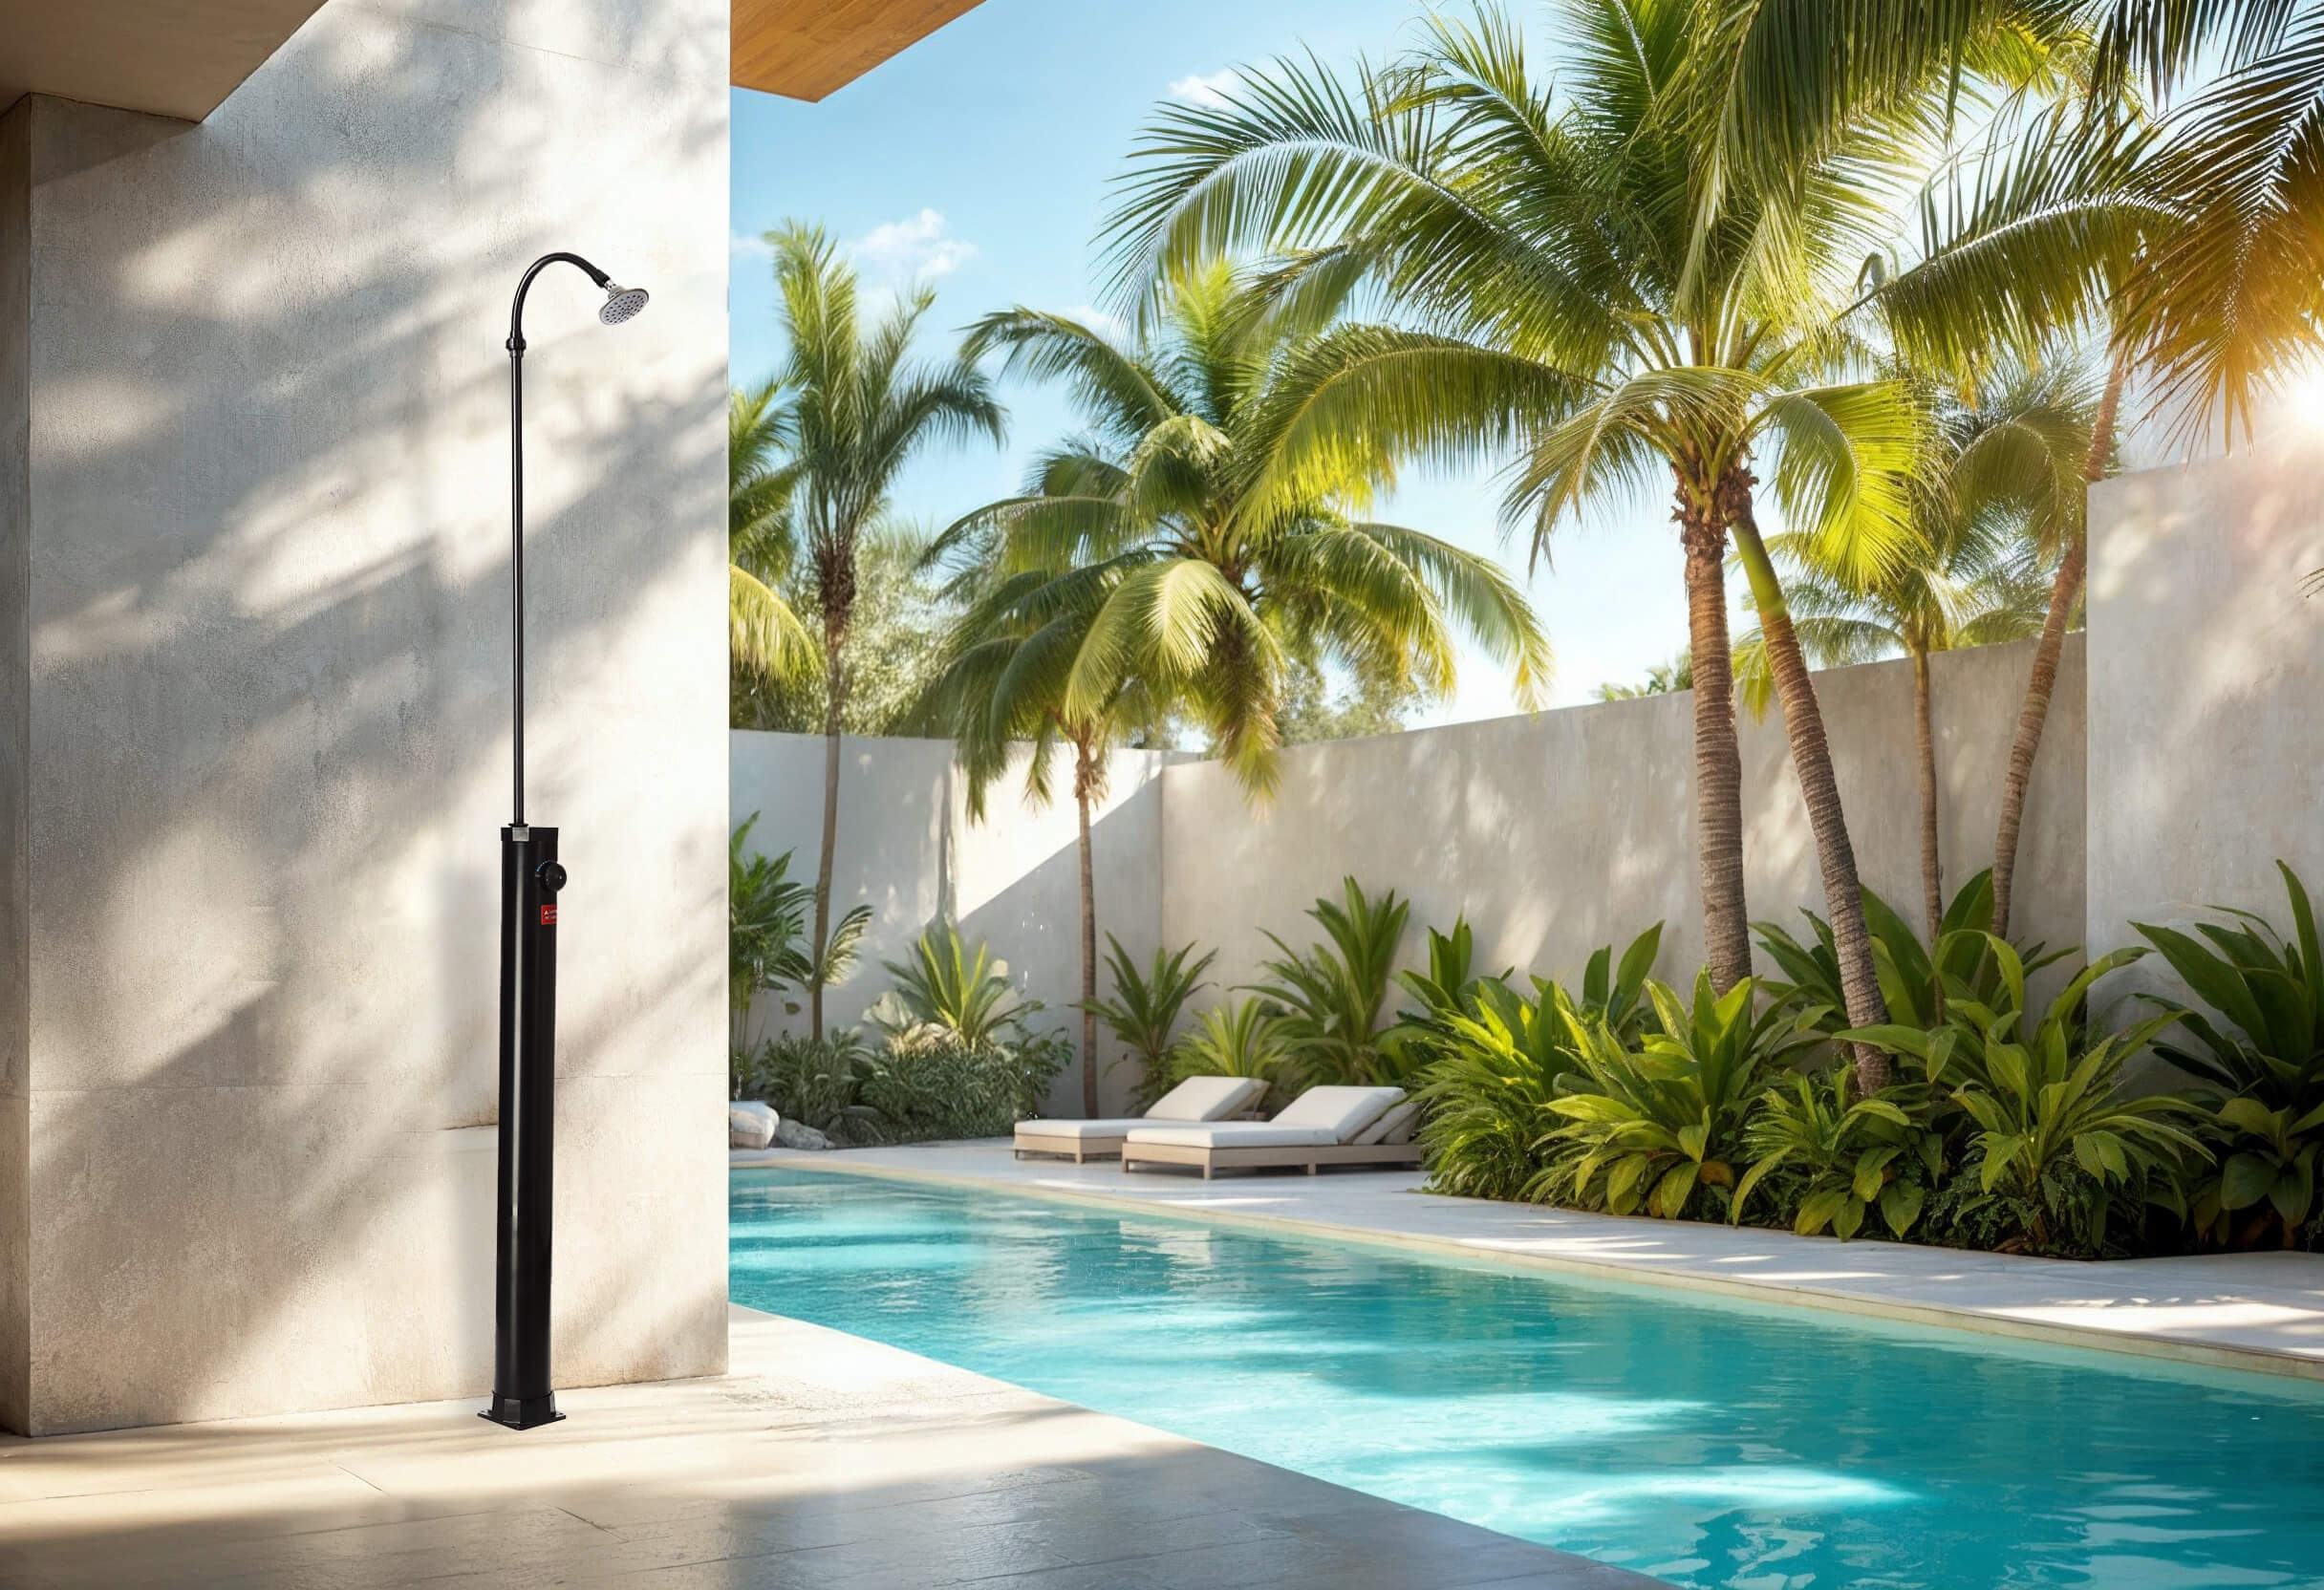
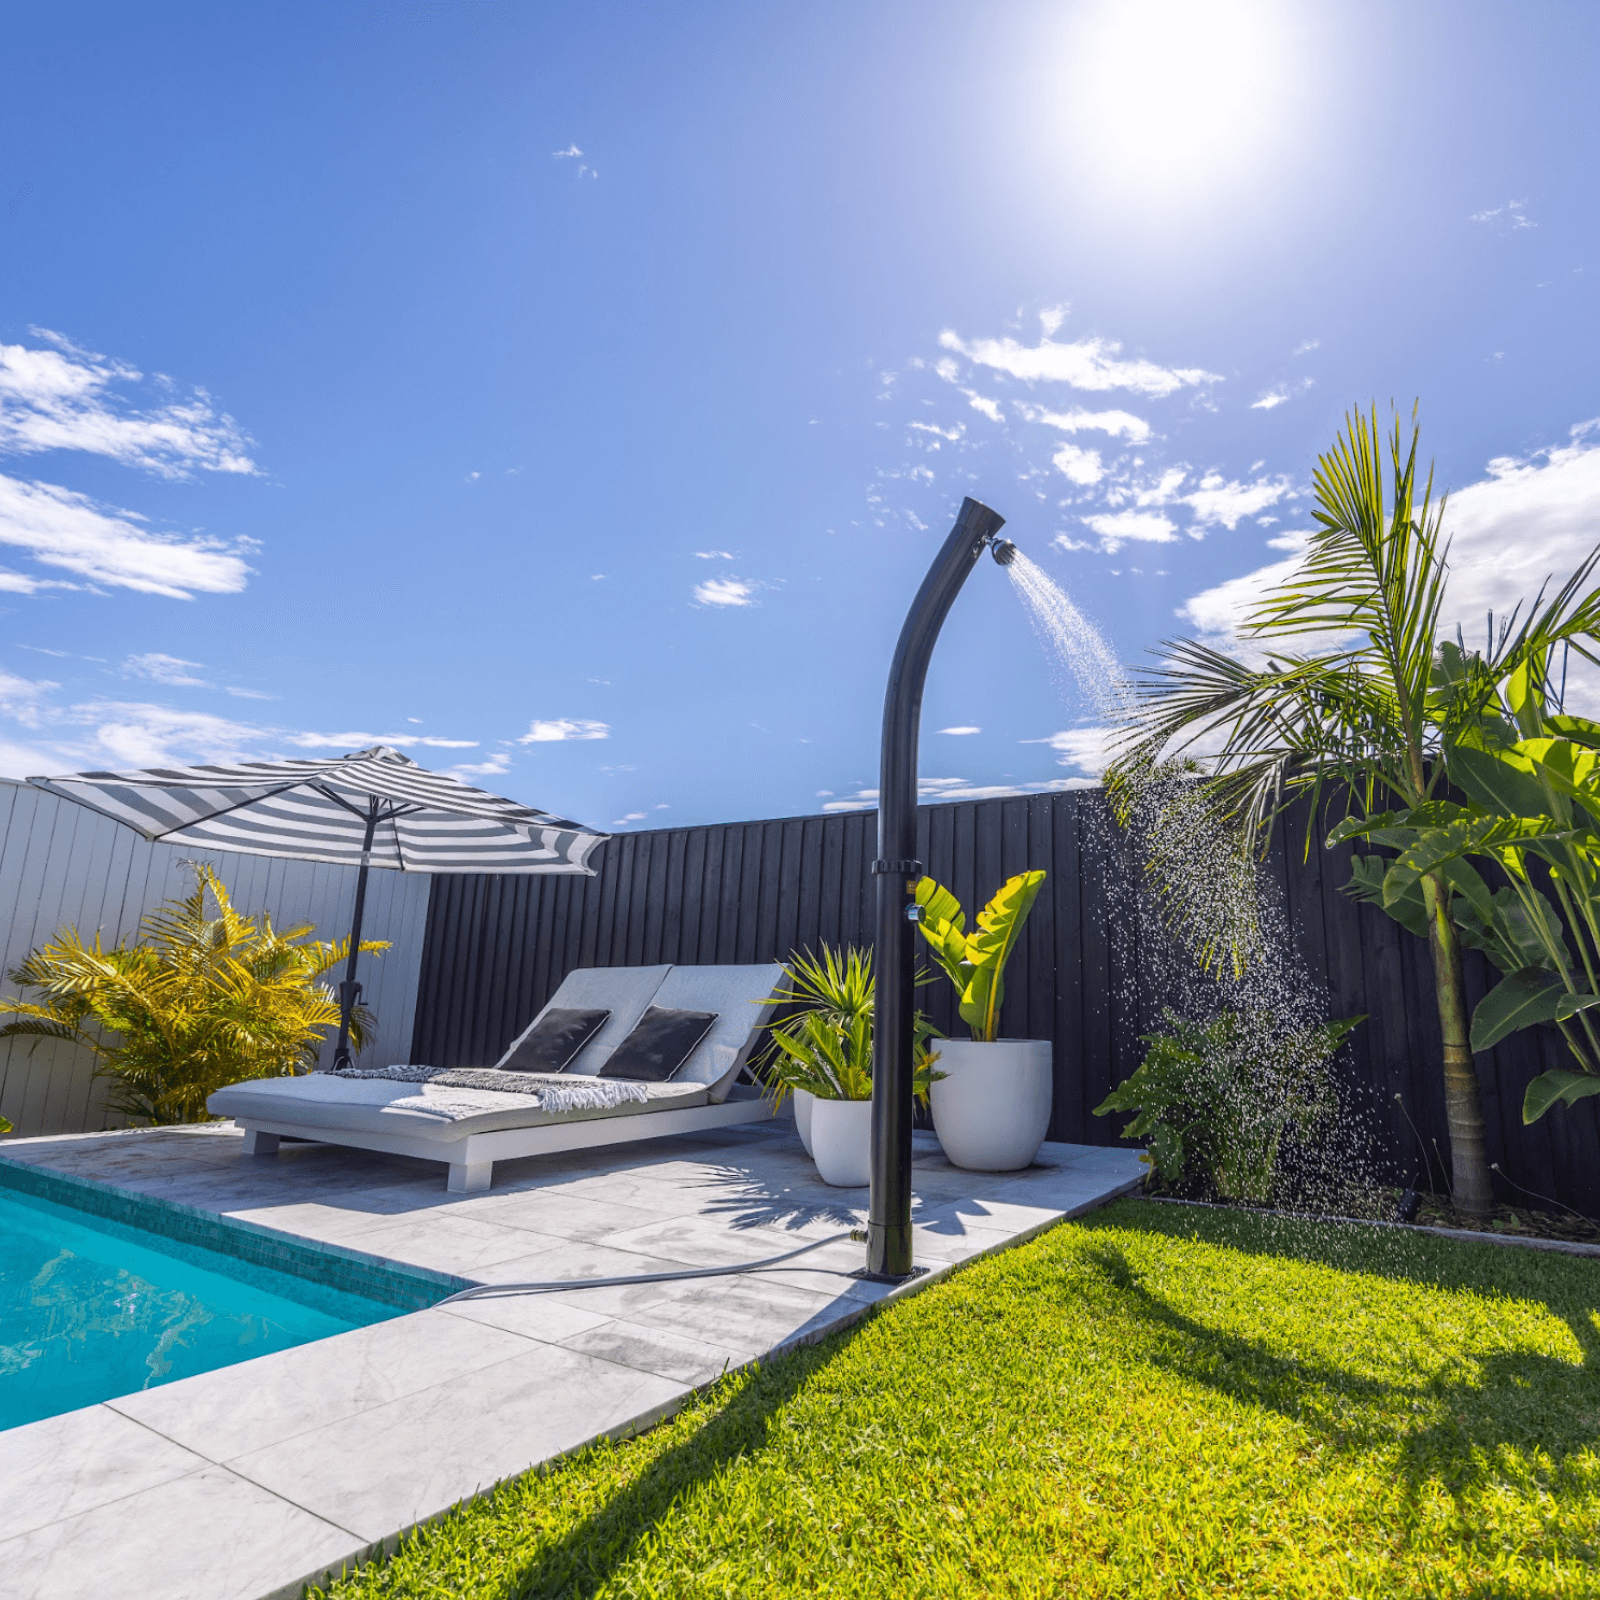
- Maximum Sun Exposure: Position your shower in a sunny area, away from heavy shade caused by trees, fences, rooflines, or nearby buildings. Aim for a north-facing spot where the shower tank will get the most direct sun throughout the day. A north-west-facing position can also work if you mostly use the shower in the afternoon, as it can catch more of the warmer, later-day sun.
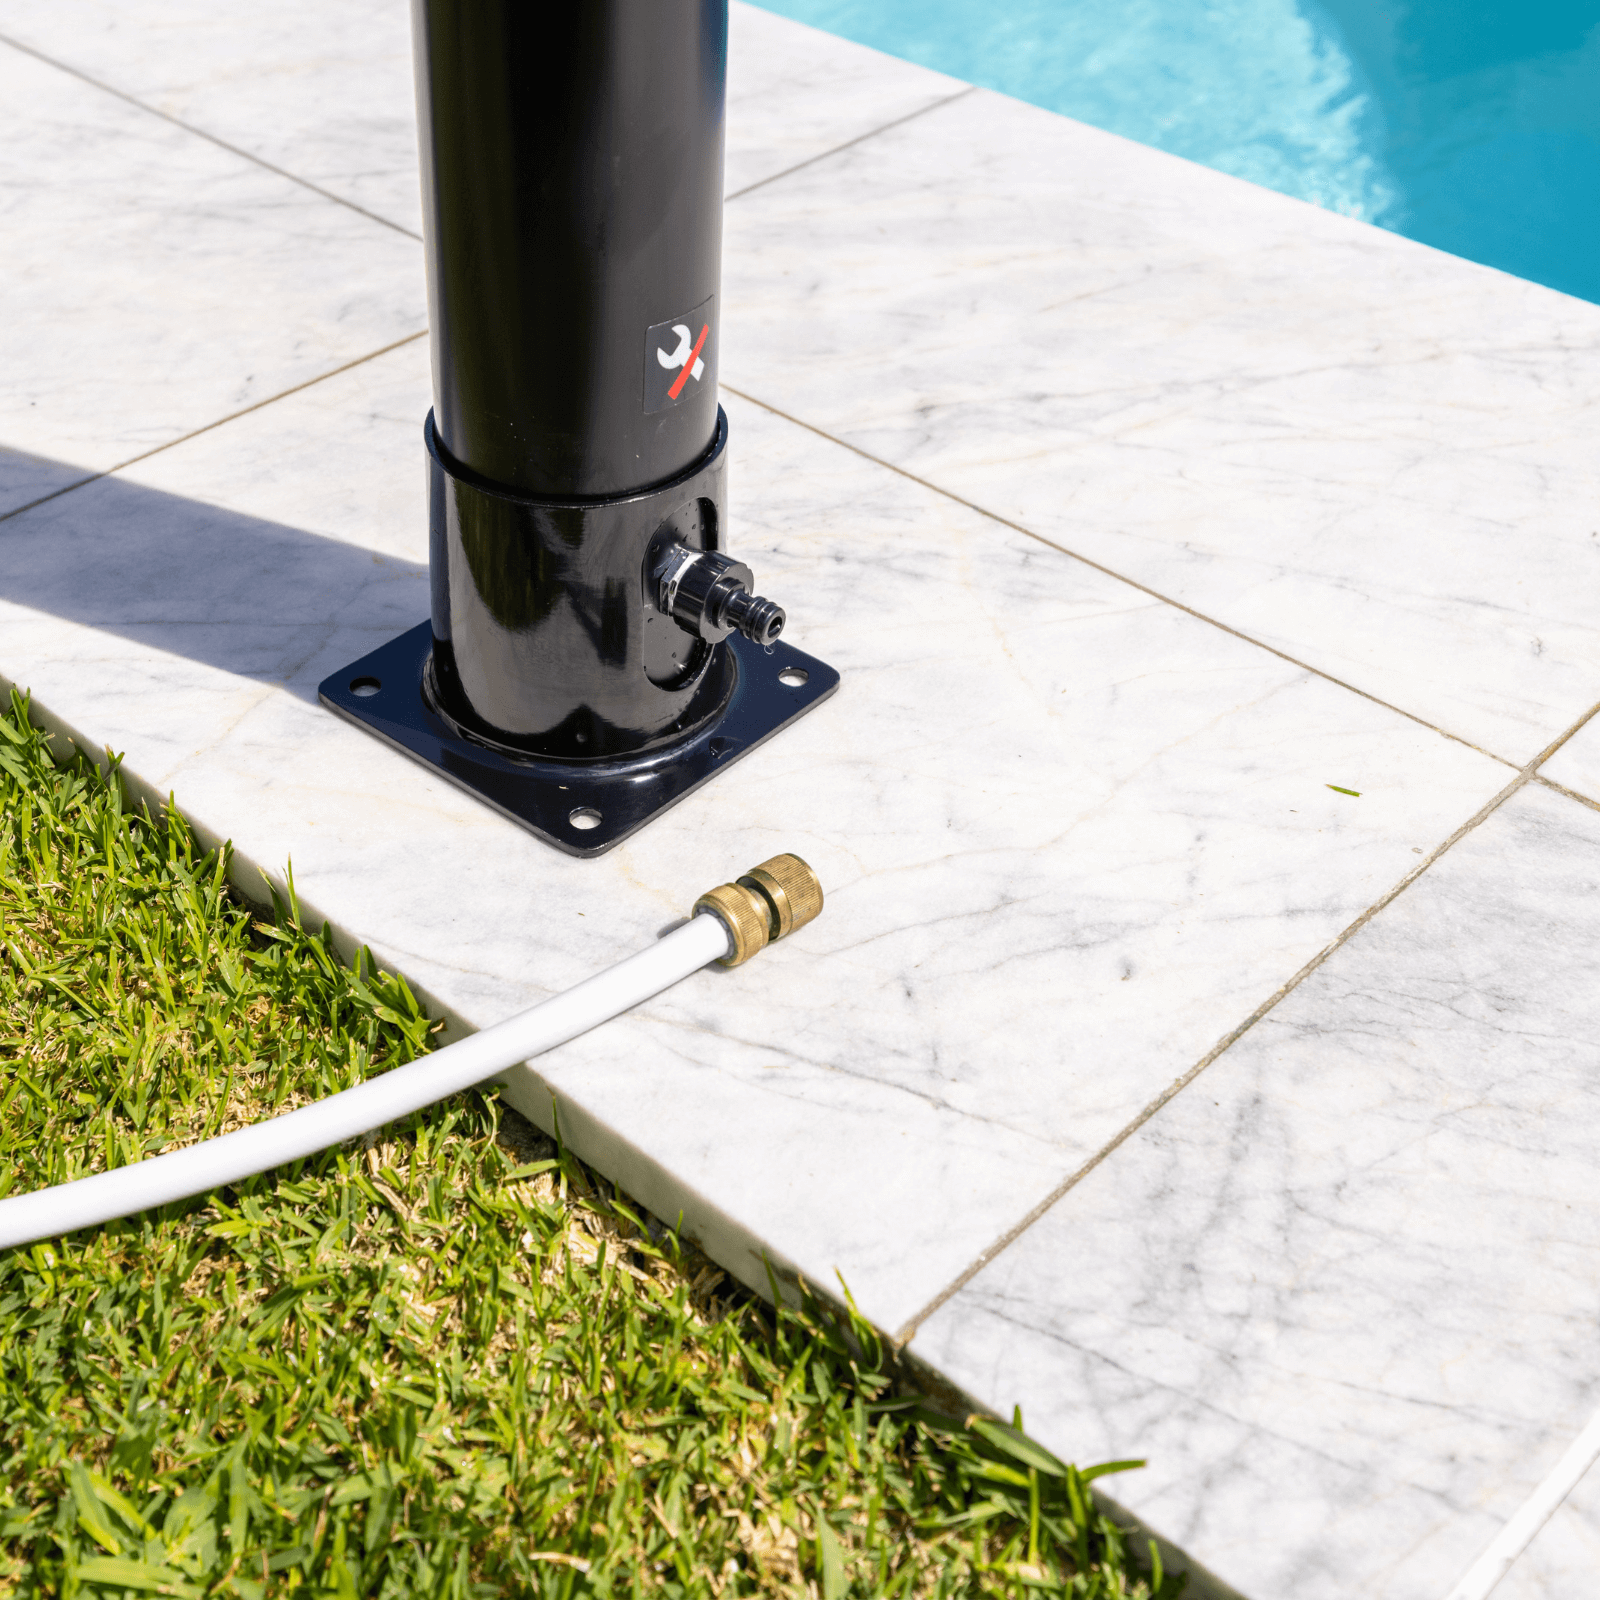
- Proximity to a Water Source: Choose a location near an outdoor tap or existing plumbing to simplify installation and minimise long pipe runs.
- Proximity to Your Pool or Spa: If you have a pool or spa, place your shower near it for easy rinsing before and after swimming.
- Drainage and Ground Conditions: Pick a spot where water can drain away safely without pooling, creating mud, or running back towards your home, pool, or paved areas.
- Privacy: Look for a location that’s comfortable to use, or consider adding screening, fencing, plants, or a shower enclosure for privacy.
Step-by-Step Guide: How to Install an Outdoor Shower With Hot Water
Solar Shower Setup Tips to Maximise Performance
- Face the Tank Towards the Sun:
Position the solar tank so it gets direct sunlight for as much of the day as possible. - Fill It Early:
Fill the tank in the morning so the water has plenty of time to warm up.
Use Darker-Coloured Tanks: Hy-Clor’s black solar showers absorb heat efficiently, helping the water warm up naturally using the sun. - Keep Shade Away:
Trim back overhanging branches that can cast shadows on your shower. - Add a Stable Stand:
Pair your shower with a Hy-Clor Solar Shower Stand for extra stability, a neater setup, and a more finished look. - Choose the Right Tank Size:
Go for a smaller 9L model if you only need quick post-swim rinses, or choose a larger 26L–35L model for longer showers, family use, or regular backyard entertaining.
Maintenance Tips for Your Outdoor Solar Shower
- Check for Leaks:
Regularly inspect the hose connections, inlet, fittings, and showerhead for drips or loose parts. Tighten fittings gently if needed, and replace worn washers or seals. - Clean the Showerhead:
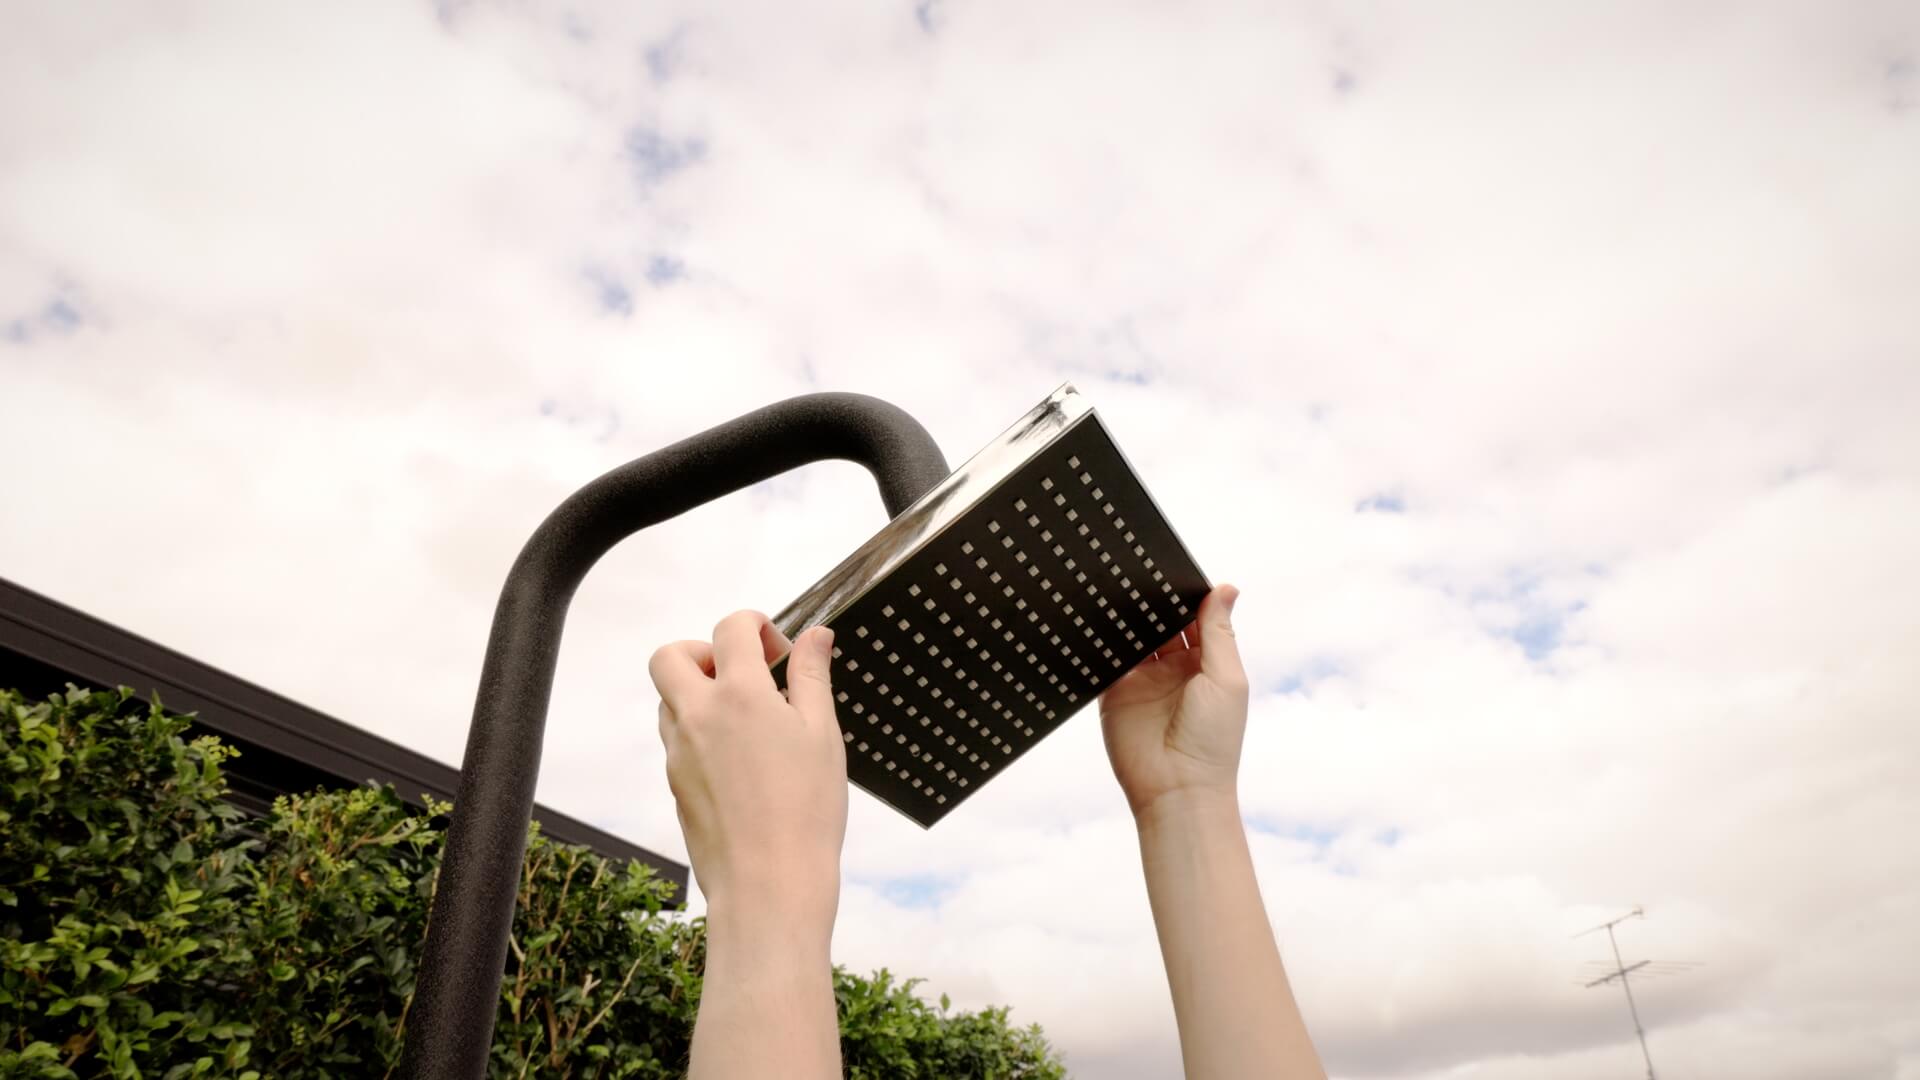
Remove the showerhead if possible, then soak it in warm water with white vinegar to loosen limescale or mineral buildup. Rinse it well, wipe it clean, and use a soft brush or toothpick to clear blocked spray holes.
Drain the Tank in Colder Areas: If you live in a frost-prone region, drain the tank during the colder months or during long periods of non-use to protect it from damage caused by frozen water. - Inspect the Base and Stand:
Check the base, stand, bolts, and surrounding ground after storms, strong winds, or heavy use. Make sure everything is still level, stable, and secure. - Wipe Down the Tank Exterior:
Use a soft cloth or sponge with mild soapy water to remove dirt, dust, and leaves from the outside of the tank. Rinse with clean water and avoid harsh cleaners. A clean tank surface can absorb sunlight more effectively.
FAQs
Transform Your Backyard with a Hy-Clor Outdoor Solar Shower
Now you know how to install an outdoor shower with hot water, it’s time to choose your shower!
Explore our stylish, eco-friendly outdoor shower range available at Bunnings, including outdoor solar showers in 9L, 18L, 26L, or 35L sizes, plus shower stands and bases to complete your setup.
For help choosing and setting up your outdoor shower, explore our Learning Centre for handy tips and product guidance, or contact us for advice.