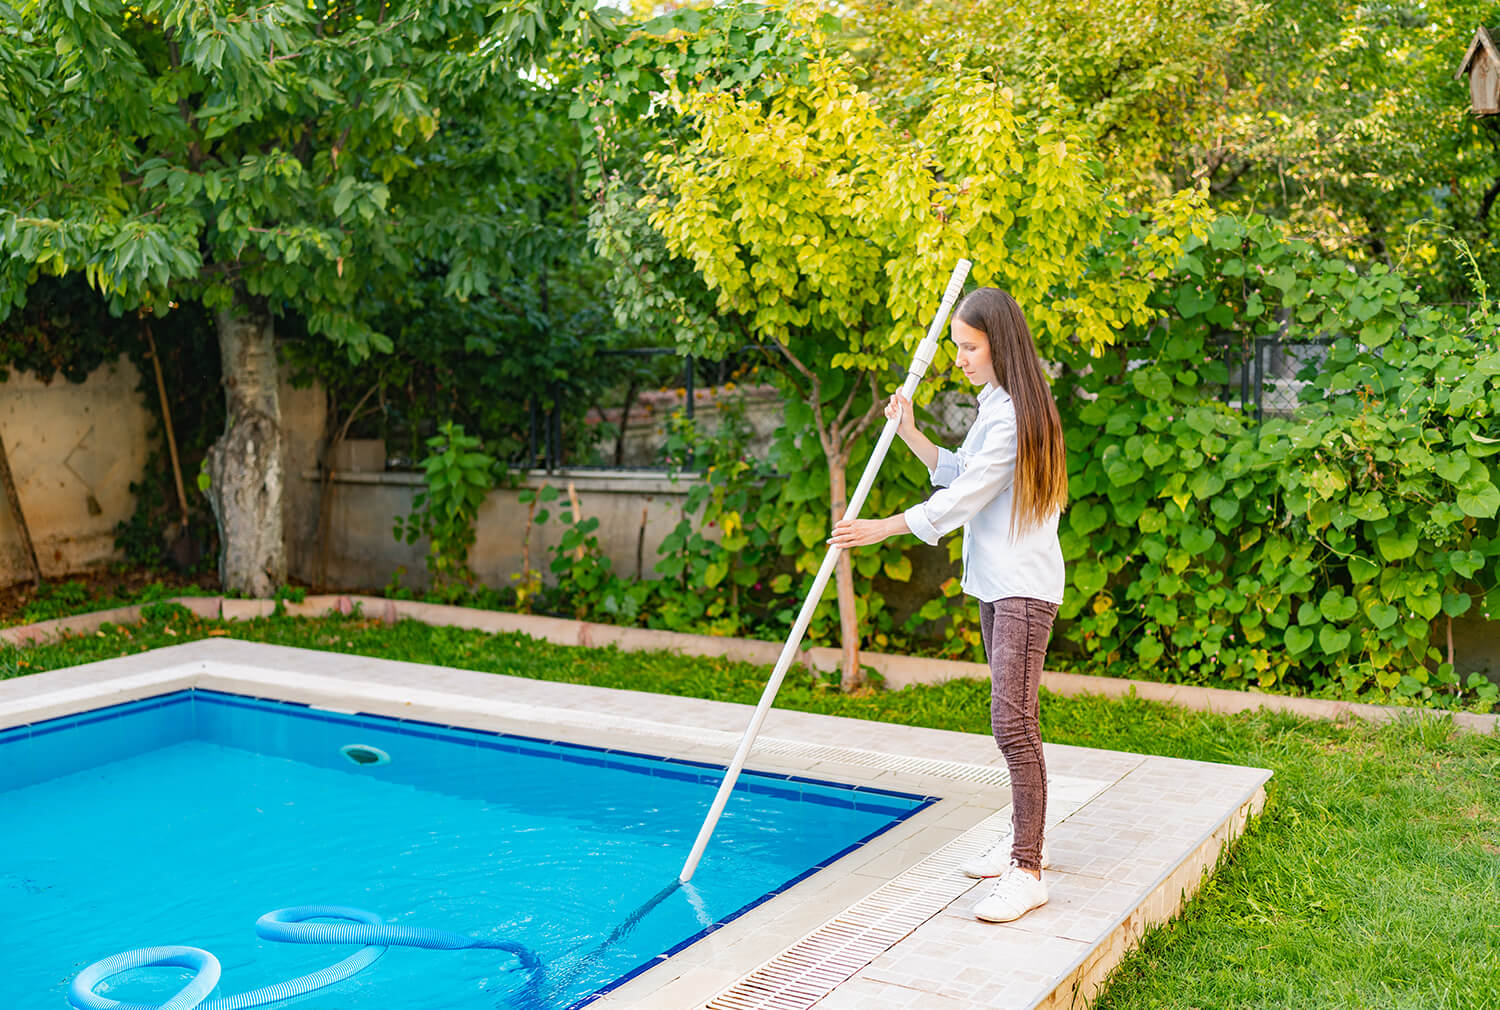
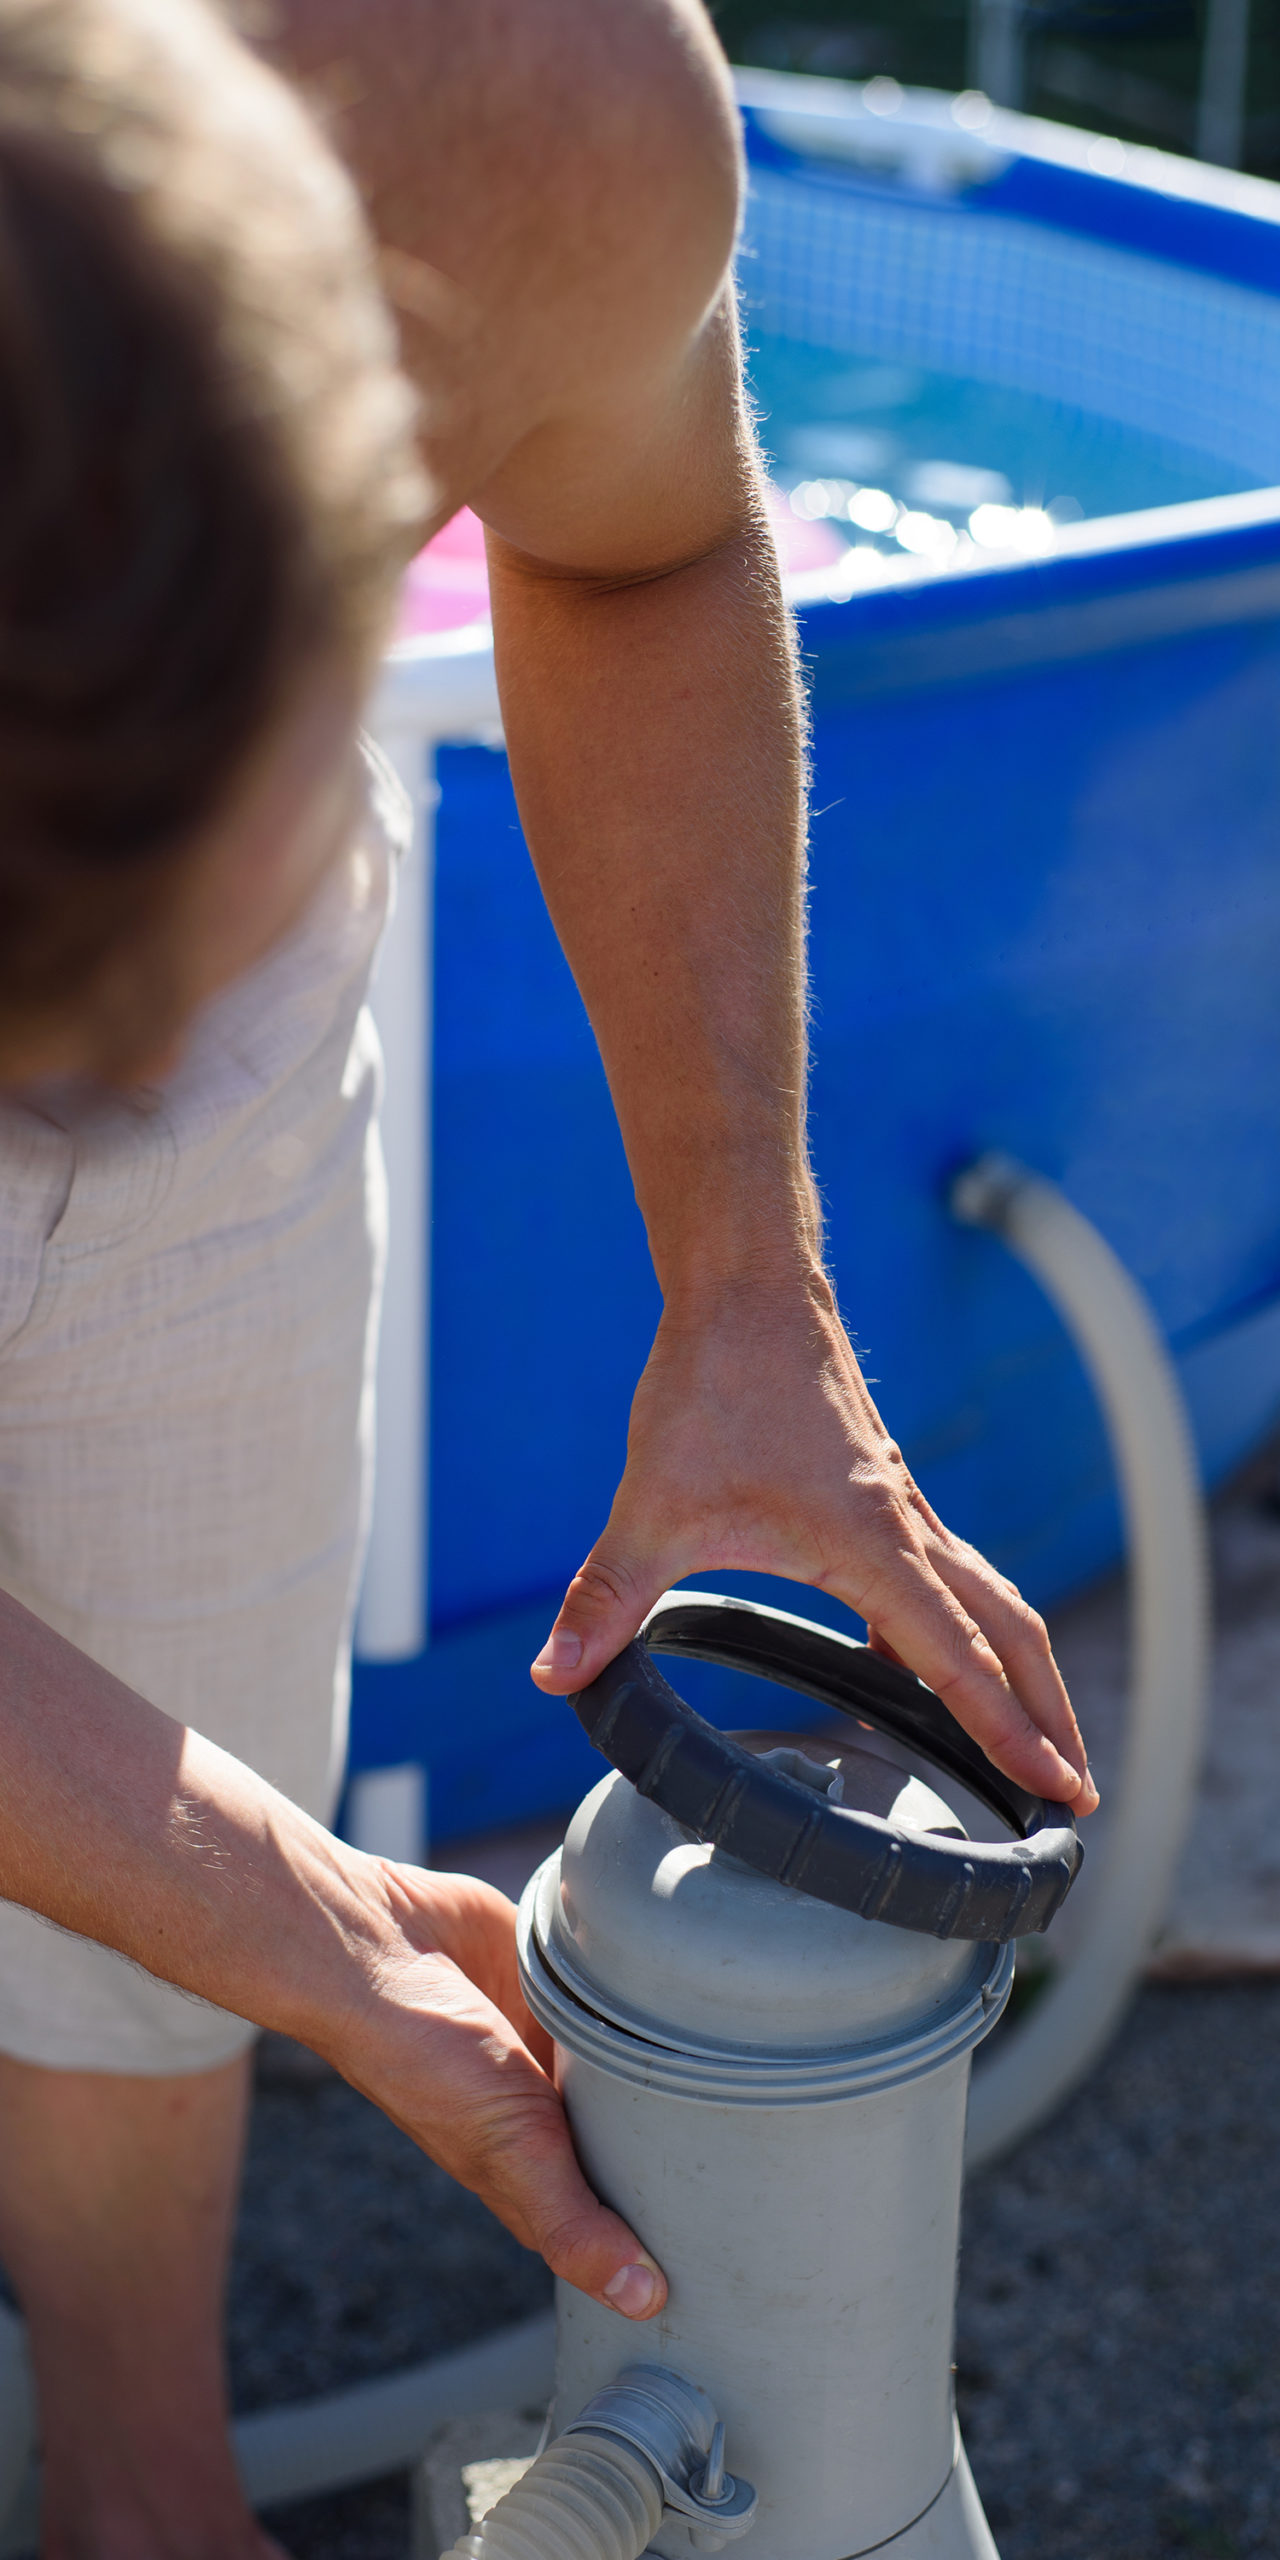
Maintaining a clean and healthy pool requires regular maintenance, including changing your pool filter. Dirty filters affect water quality, producing cloudy water or increased algae growth. By changing the filter, you get rid of debris and other things that could hurt swimmers. This leaves your pool water clean and clear.
This guide will provide clear and straightforward instructions on how to change pool filter sand and cartridge filters.
How often you need to change your filter depends on a few factors, including your filter’s media type. Filter media is the material that traps suspended particles in water and aids in the filtration process. The most common Sand filter media include sand, zeolite, and glass.
The hard, angular granules of sand used in sand filters are incredibly effective at trapping and filtering particles from water.
Cartridge filters usually use filter media such as cloth, paper, or polyester. Paper is the most commonly used material due to its affordability and ability to capture small particles.
Sand filters and cartridge filters are popular pool filter media choices. We offer high-quality pool filter cartridges and replacement Zeolite for sand filters at Hy-Clor.
Let’s find out what signs you should look out for to know when your pool filter needs changing.

Do I Need To Change My Pool Filter?
The frequency of replacing your pool filter depends on factors such as how frequently your pool is used, the size of the filter, and the types of chemicals used to treat the water. In general, properly maintained pool sand filters can last between seven to twenty years, while cartridge filter tanks can last between five to ten years. However, it is important to note that the filter element within the cartridge tanks typically need to be replaced every two to three years.
Even if your pool filter is not at the end of its lifespan, it may need to be changed sooner if you notice a decrease in water pressure or cloudiness in the pool water.
A decrease in water pressure could result from clogs and blockages in the pool filter, restricting the flow of water and reducing its effectiveness. If you notice that your pool water is starting to look cloudy or hazy, this could mean cracks in or damage to your filter. You must change your pool filter when you notice any of these signs.
To determine if your filter is dirty or damaged, you should inspect the filter at least once a month. If the filter is dark in colour, overly clean, and not flowing freely, then it’s time to replace it.
Notice any unusual noises coming from the filter? That could also mean that it is not functioning correctly and needs replacing.
Now that you know what signs indicate that your pool filter needs replacing; the question is, how to do so? Follow our step-by-step guide on how to change the sand in a pool filter or a cartridge filter.
How To Replace the Sand in a Sand Filter
Follow these steps on how to change pool filter sand. Preparation is key! We recommend reading through these steps before starting, so you can gather all the necessary tools and supplies. Every Model and brand will differ slightly, this is a general guide based on our Poseidon 19-inch and 24-inch Filters.
- Turn off the power to the filter pump at the breaker and unplug it. Safety first!
- Remove the drain plug from the bottom of the filter tank, so all the water drains out.
- To access the filter tank, remove the pipes attached to the multiport valve.
- Once you remove the plumbing, undo the clamp holding down the multiport valve then gently twist off the multiport valve.
- Cover the top of the standpipe you see in the middle of the tank with duct tape to prevent sand from getting flushed into the pool.
- Remove all existing sand from the filter and discard it. A wet and dry vacuum is ideal; however, if you don’t have access to one, you can use a plastic cup to scoop out the sand. Keep removing sand until you can see the laterals on the bottom of the tank. The laterals are plastic arms that help to distribute water throughout the filter and allow it to flow back into the pool.
- Give the standpipe a good rinse with a hose. Any remaining sand will exit through the drain plug. Also, wash out the inside of the filter tank with a hose. Do not use a pressure washer to remove any leftover debris this may cause damage to the laterals or inside of the tank.
- Check the inside of the filter tank for any damage and any cracks you see. If there is extensive damage and cracks, you should consider replacing your sand filter tank. You should avoid attempting to repair any cracks. If any damage is present inside the tank replace the filter. A build up of pressure can cause explosions if cracks are present.
- Reattach the drain plug and fill the tank halfway with water.
- Ensure the standpipe is centred in the tank and the cover attached in step five is still secure.
- Fill the filter tank with new pool-grade sand. Make sure laterals are evenly covered with sand, then add the remaining quantity slowly. Check the manufacturer’s instructions regarding the quantity required. What is the best choice for sand filter media? At Hy-Clor, we recommend our Zeo-Clor filter media.
- Fully cover the laterals with sand.
- Check the O-ring on the multiport valve and ensure it is in place. It’s a round, thin ring, usually made of rubber. If your O-ring looks worn or damaged, now would be a good time to replace it. If it’s still looking good, grease the O-ring with a silicon-based lubricant to provide a watertight seal.
- Completely fill the tank with water and reassemble the connections to your pool filter. Now remove the cover from the standpipe before reattaching the multiport valve and doing the clamp up tightly
- Make sure all of the fittings are secure to avoid leaks. Plug in and turn on the power to your filter pump.
- Backwash the filter to eliminate any excess sand in the system.
- Rinse the filter for 30 seconds then set the multiport to filter mode.
What if the Filter Pipes Are Directly Connected to the Multiport Valve?
If this is the case when you reach Step 3, you will have to cut the pipes to remove the valve. We recommend installing union connections after changing the sand for easier access next time.
Union connections are plumbing connections used to connect two pipes. They allow easy installation and maintenance and provide a secure, leak-proof seal.
How Full Should the Sand Be in a Pool Filter?
When you get to Step 11, the specific amount of sand needed for replacement depends on the size of your pool and filter system. Your filter may have a label indicating quantities; otherwise, check the manufacturer’s instructions for the sand you are using.
Here are some examples to give you an idea about sand quantities.
- 16-inch tank (40.6 cm) needs 100 lbs (45.4 kgs)
- 20-inch tank (50.8 cm) needs 200 lbs (90.7 kgs)
- 25-inch tank (63.5 cm) needs 300 lbs (136.1 kgs)
- 30-inch tank (76.2 cm) needs 500 lbs (226.8 kgs)
Why Choose Hy-Clor’s Zeo-Clor Filter Media?
Hy-Clor’s Zeo-Clor filter media
- Works in all sand filters.
- Is all-natural and environmentally safe.
- Helps reduce pool odours and red eyes in swimmers.
- Provides superior water clarity as it filters finer than regular filter sand.
- Draws ammonia out of pool water.
- Increases the efficiency of other pool chemicals.
- Cuts backwashing by up to 50%.
- Lowers the overall operating cost of your pool.
- Has a considerably longer life span than other pool sand media, requiring less frequent changes.
- Is suitable for chlorine and salt pools, above-ground and in-ground pools, spas, and swim-spas.
How Do You Backwash Your Filter?
At step 16, if you don’t know how to backwash your filter, follow these steps.
- Turn off the Pump
- Turn Valve to Backwash
- Run backwash for 2-5 min (if you have a sight glass wait until it’s clear)
- Turn off the Pump
- Turn the Valve to Rinse and rinse for 30 seconds (make sure the sight glass is also clear)
- Return the Valve to the filter and resume normal operation of the pump

How To Replace a Cartridge Filter
Follow these steps on how to replace a cartridge filter. Please read through these steps before starting, so you can gather all the necessary tools and supplies.
- Turn off the pump
- Open-air Release Valve
- Depending on your filter type, you may need to unscrew a top access cover attached with nuts, bolts, or screws. On some filters, this cover will open without needing to remove anything else.
- Take off Lid, Depending on the Filter model, you may need to use a tool to do this, such as a wrench, pliers, or an Allen key
- Remove the cartridge element
- Clean the inside of the filter housing with a hose
- Replace with clean/new element. At Hy-Clor, we recommend our CF50, CF75, or CF100 cartridge filters.
- Replace the lid and open the air release valve
- Start the pump and slowly close the air release valve and completely shut it when water starts to come out.
What Hoses Are Connected to a Filter?
When you reach step 3, you must remove these hoses connected to your filter.
- SuctionPipe – Is the link between the skimmer and the pump.
- Backwash Pipe – Used to force waste out of the system, it is connected between the filter and the Sewer line
- Return line Pipe – Used to send water back towards the pool, It can be connected to a chlorinator or straight back towards the pool.
- Drain Pipe – Connected between the filter and swimming pool drain, used for draining water from the system. (mostly for cartridge filters)
Why Choose a Hy-Clor Cartridge Filter?
- Easy to install.
- Compact in design for confined spaces such as spas and pools where the filter box space is limited.
- Ideal for small to large domestic swimming pools and spas.
- Outstanding in performance.
- Made from high-density polyethylene. This material is corrosion and chemical-resistant, ensuring durability and longevity.
- Cost-effective as they reduce water usage due to the backwash cycle not being required.
- Suitable for chlorine and salt pools, above-ground and in-ground pools, spas, and swim-spas.
Change Your Pool Filter With Confidence
Keeping your pool water clean and safe requires regular maintenance. Essential to this is replacing your pool filter when it reaches the end of its lifespan. Remember: being proactive with pool maintenance will save you time, money, and energy in the long run!
If you’re wondering how to change the sand in a pool filter or how to change a cartridge filter, we’re here to help. We are one of the most extensive swimming pool treatment and equipment suppliers in Australia and New Zealand. Our team of experts at Hy-Clor will help you discover how our high-rate pool sand filters and cartridge filters can help provide the perfect filtration for your pool.
For more information, get in touch with us today via our online enquiry form. Alternatively, please visit your nearest Bunnings Warehouse for our full range of products.


