Has a heavy rainstorm hit your pool recently? While rain can be a refreshing change from the scorching sun, it can wreak havoc on your pool!
Fortunately, by following the right steps using the right products, you can quickly recover your pool and restore it to its former glory.
Let’s find out why post-rain pool recovery is crucial and, more importantly, how to clean your pool after rain and storms. This post-rain and storm pool guide covers everything from removing debris and balancing the water chemistry to cleaning your pool and filter.
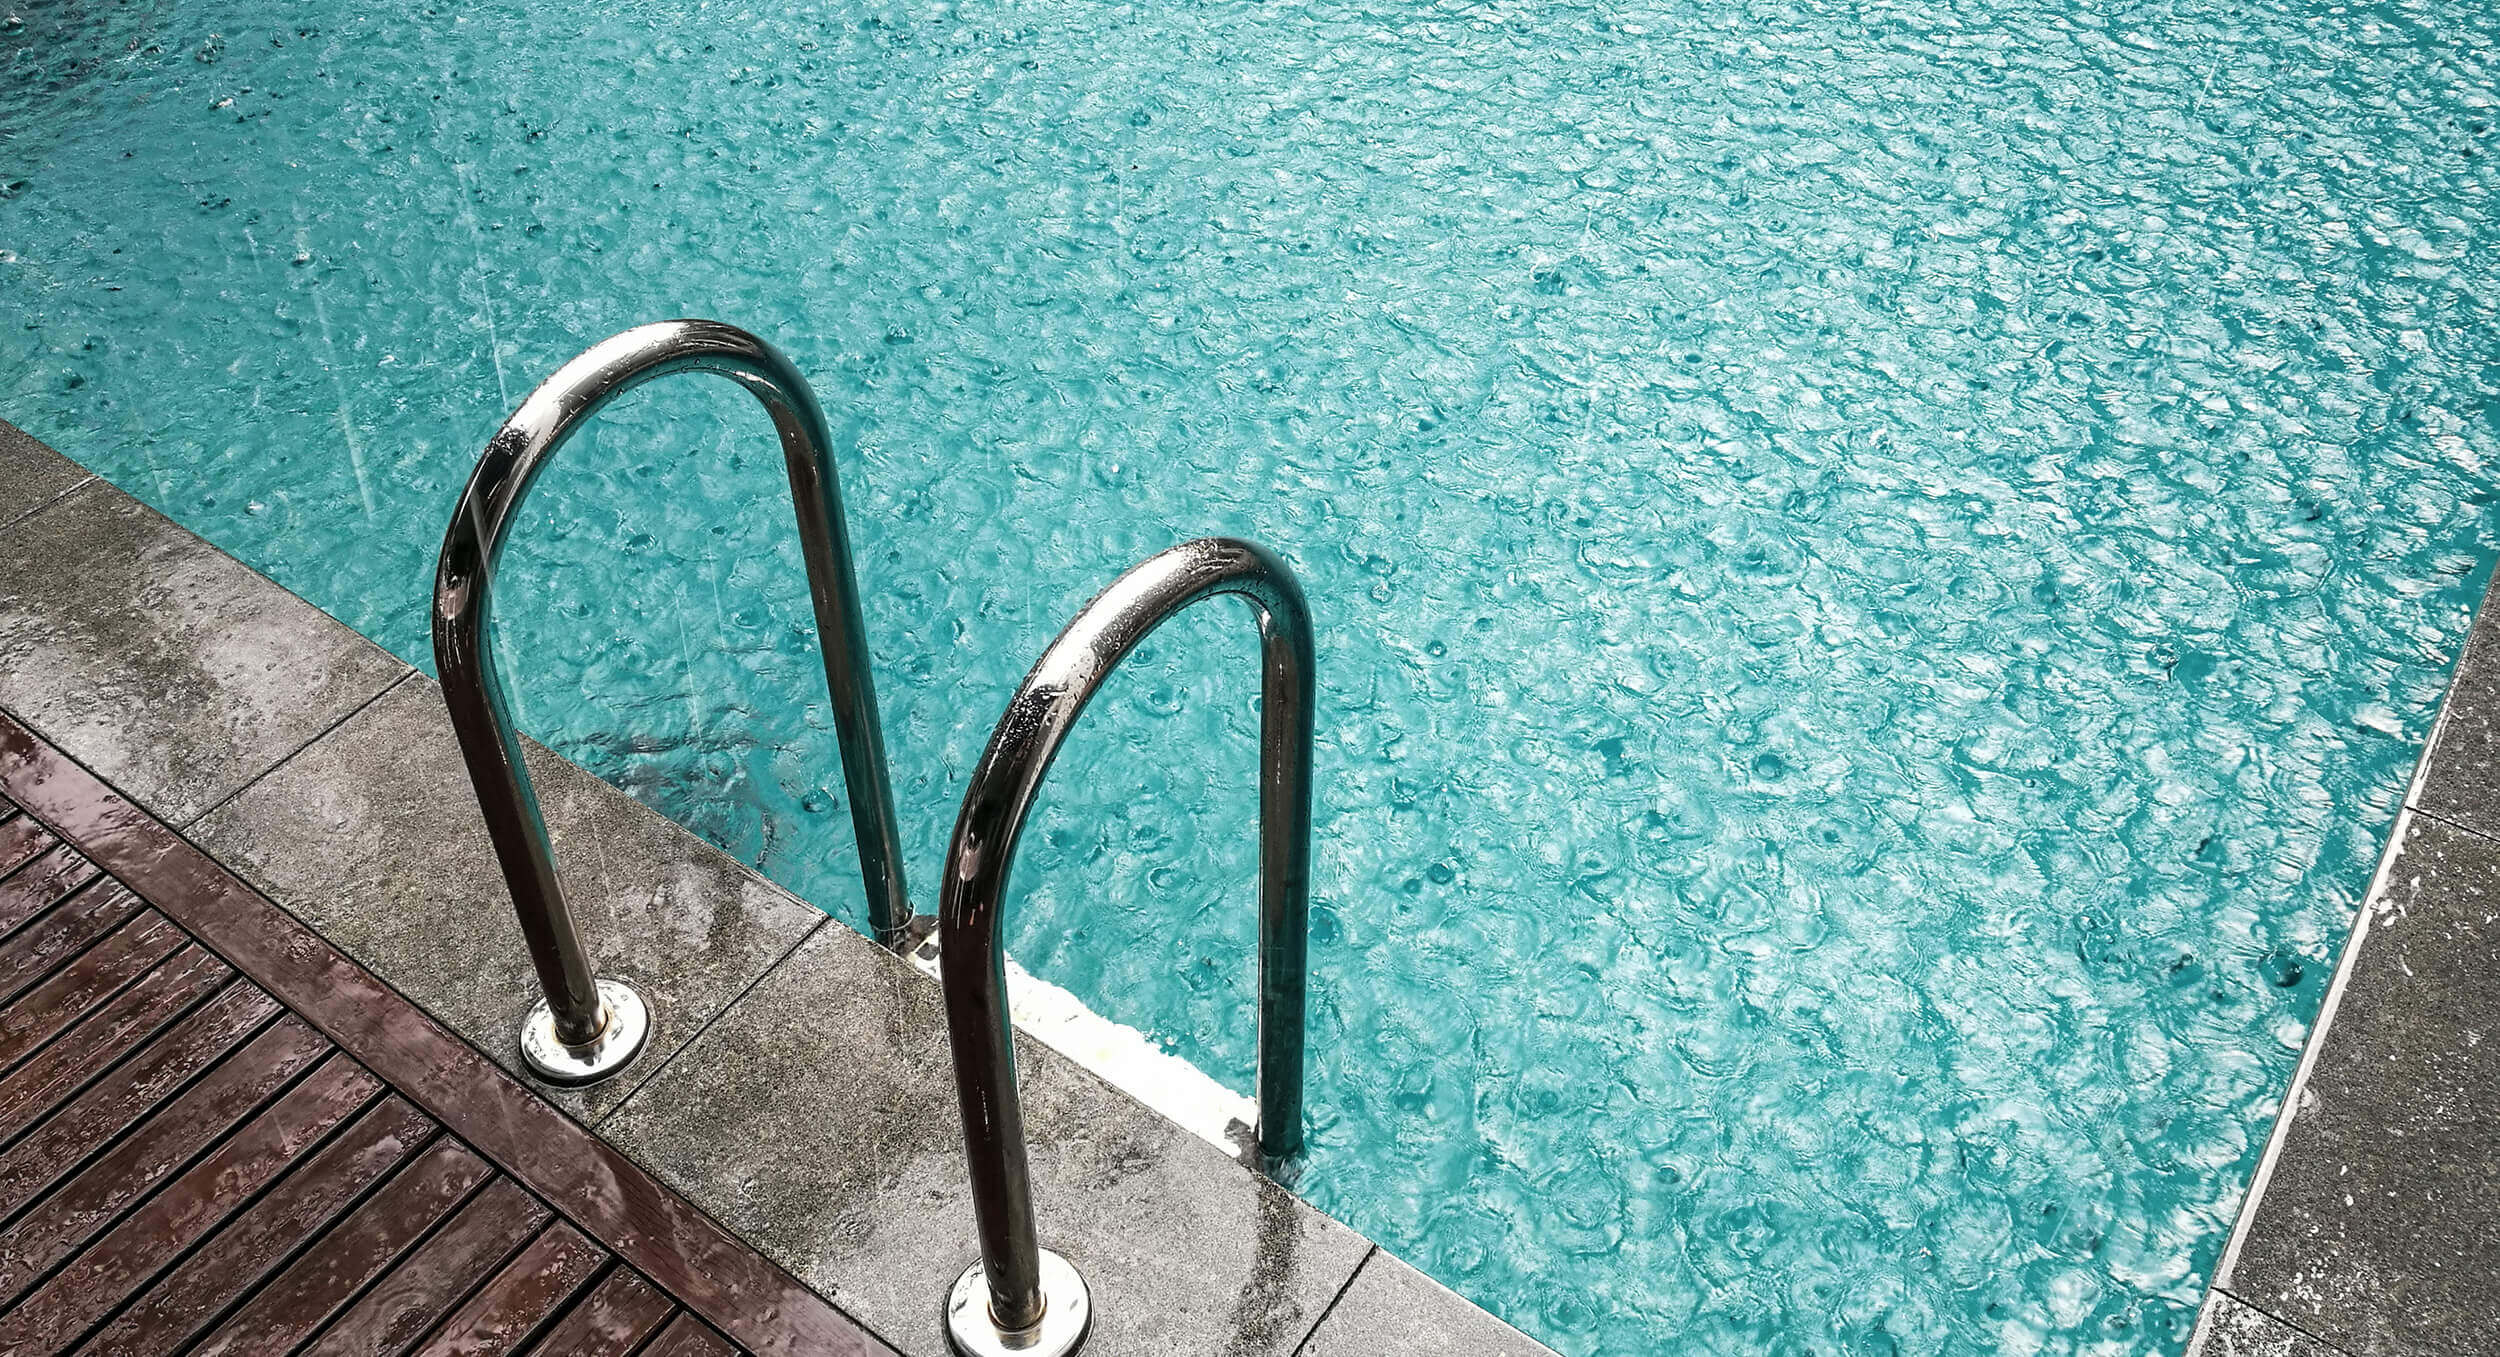
Why Do Pools Need To Be Recovered When Flooded by Rainwater?
When your pool is flooded by rainwater, recovering it as soon as possible is essential. After a heavy downpour or storm, debris and other pollutants can flood your pool. This results in an unsightly-looking pool and affects the water balance, making swimming unsafe.
Recovering your pool after a rainstorm will help restore your pool water to crystal clear and healthy for your family to swim in.
What are some of the risks associated with a flooded pool?
Disrupted Chemical Balances
Rainwater brings a variety of chemicals, minerals, and pollutants into your pool, altering the water’s pH levels and total alkalinity. If the pH levels become imbalanced, it can make your pool water too acidic or alkaline, causing skin and eye irritation for swimmers.
Pool chlorine levels will also be affected. A heavy downpour can dilute the chlorine in your pool, leading to bacteria and algae growth.
Debris Buildup
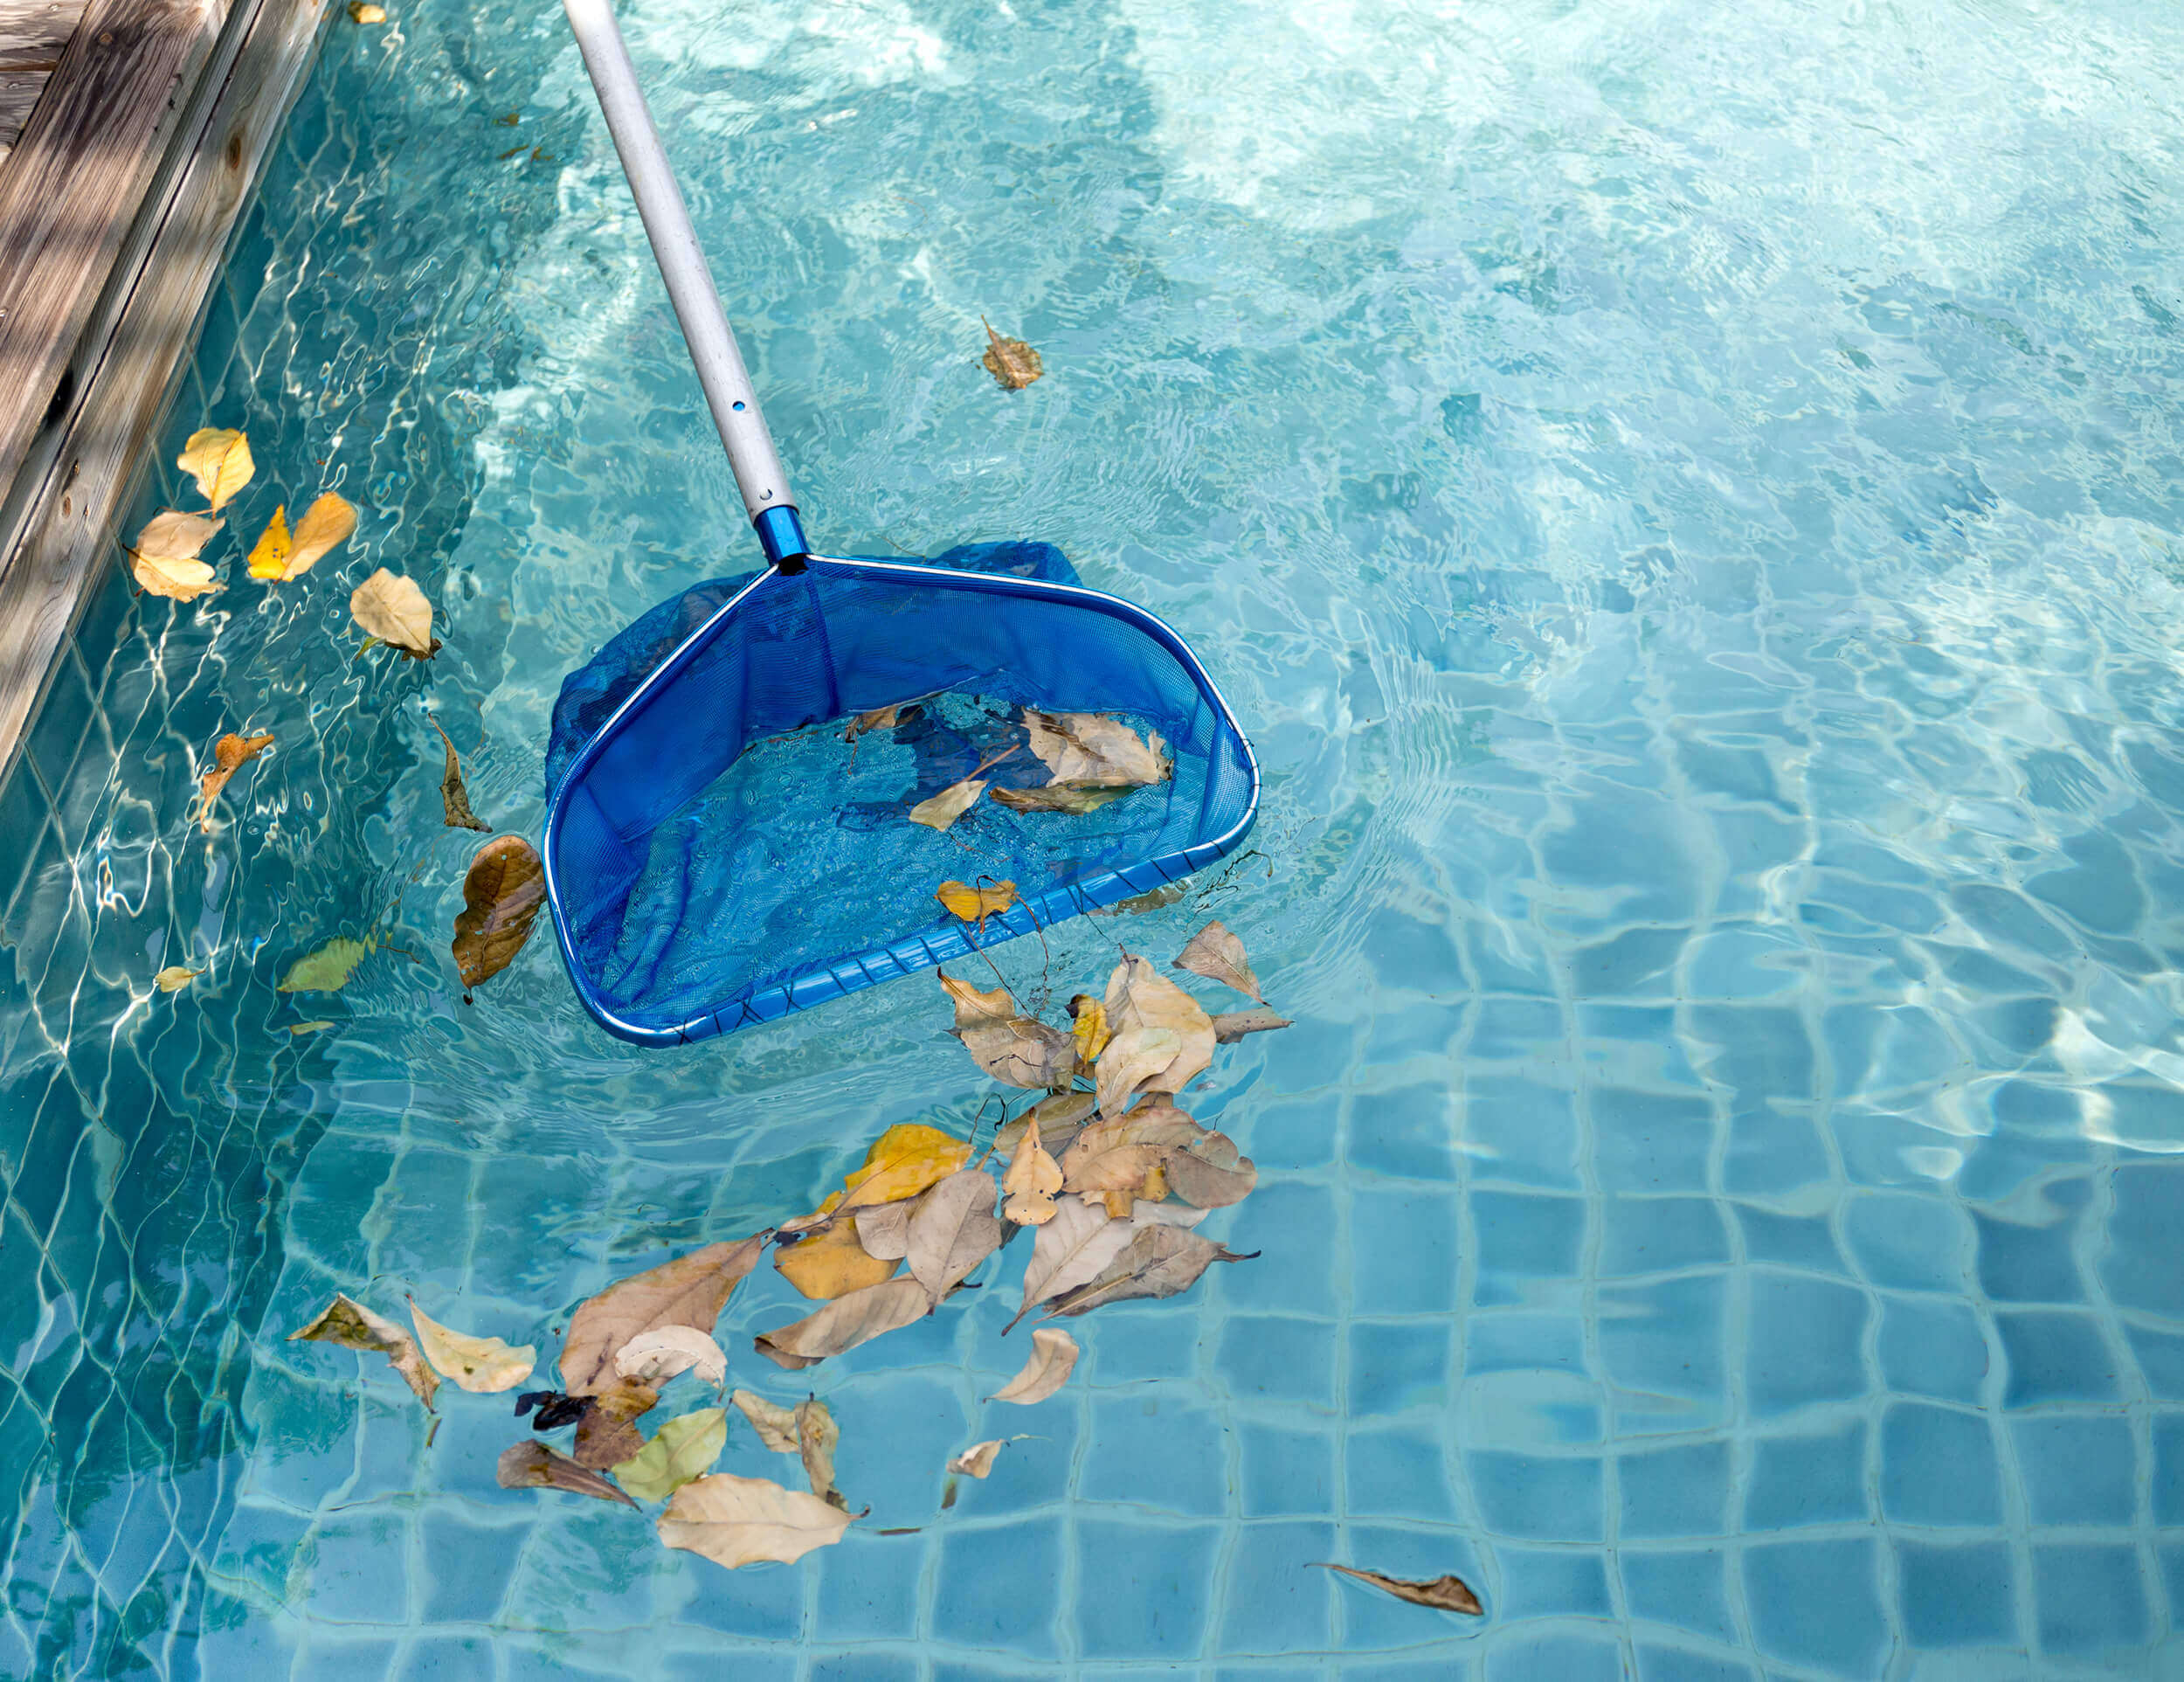
When rainwater washes into your pool, it can carry leaves, twigs, dirt, and other debris from surrounding areas. As well as making your pool look dirty, a large volume of debris can clog your pool filtration system.
Debris buildup will also disrupt your pool’s water chemistry balance.

Phosphates and Pollutants Introduced to Water
When rainwater washes over the surrounding areas and into your pool, fertilisers, pesticides, and other chemicals can end up in your pool. These chemicals often contain phosphates. Phosphates are nutrients that can promote algae growth and other harmful microorganisms.
In addition, pollutants such as oil and other contaminants washed into your pool can cause potential health risks for swimmers. These phosphates and pollutants make it challenging to maintain the proper chemical balance in your pool, leading to cloudy water, imbalanced pH levels, and the growth of harmful bacteria.
Damage To Pool Walls and Equipment
When the water levels in your pool rise above their normal levels, this puts pressure on your pool’s walls and equipment. If the water pressure becomes too much for the pool walls to handle, they can crack or collapse, resulting in costly repairs.
Additionally, the excess water can damage your pool equipment, including pumps, filters, and heaters. If your pool’s equipment becomes damaged, it will need repairing or replacing entirely, which can be expensive.
You may need to drain excess water from your pool after a heavy rainstorm to avoid such damage. But do not drain it completely! Read on for more information.
WARNING: Before You Get Started
Before you get started with post-rain pool recovery, there are some warnings you need to consider to ensure your safety and protect your pool equipment.
- Safety first. Always wear protective gear, such as gloves and boots, when handling debris and chemicals in your pool.
- Avoid electrical hazards. Make sure to turn the electricity off before cleaning any electrical equipment. If any electrical equipment was submerged in water, do not turn it on and arrange an inspection by a professional.
- Do not drain your pool! Doing so can lead to damage to your pool walls and equipment. Instead, remove excess water with a submersible pump. If your pool does not have a waste function.
Steps To Pool Recovery
After adhering to the safety tips above, you can start the after-rain pool recovery process by following these steps.
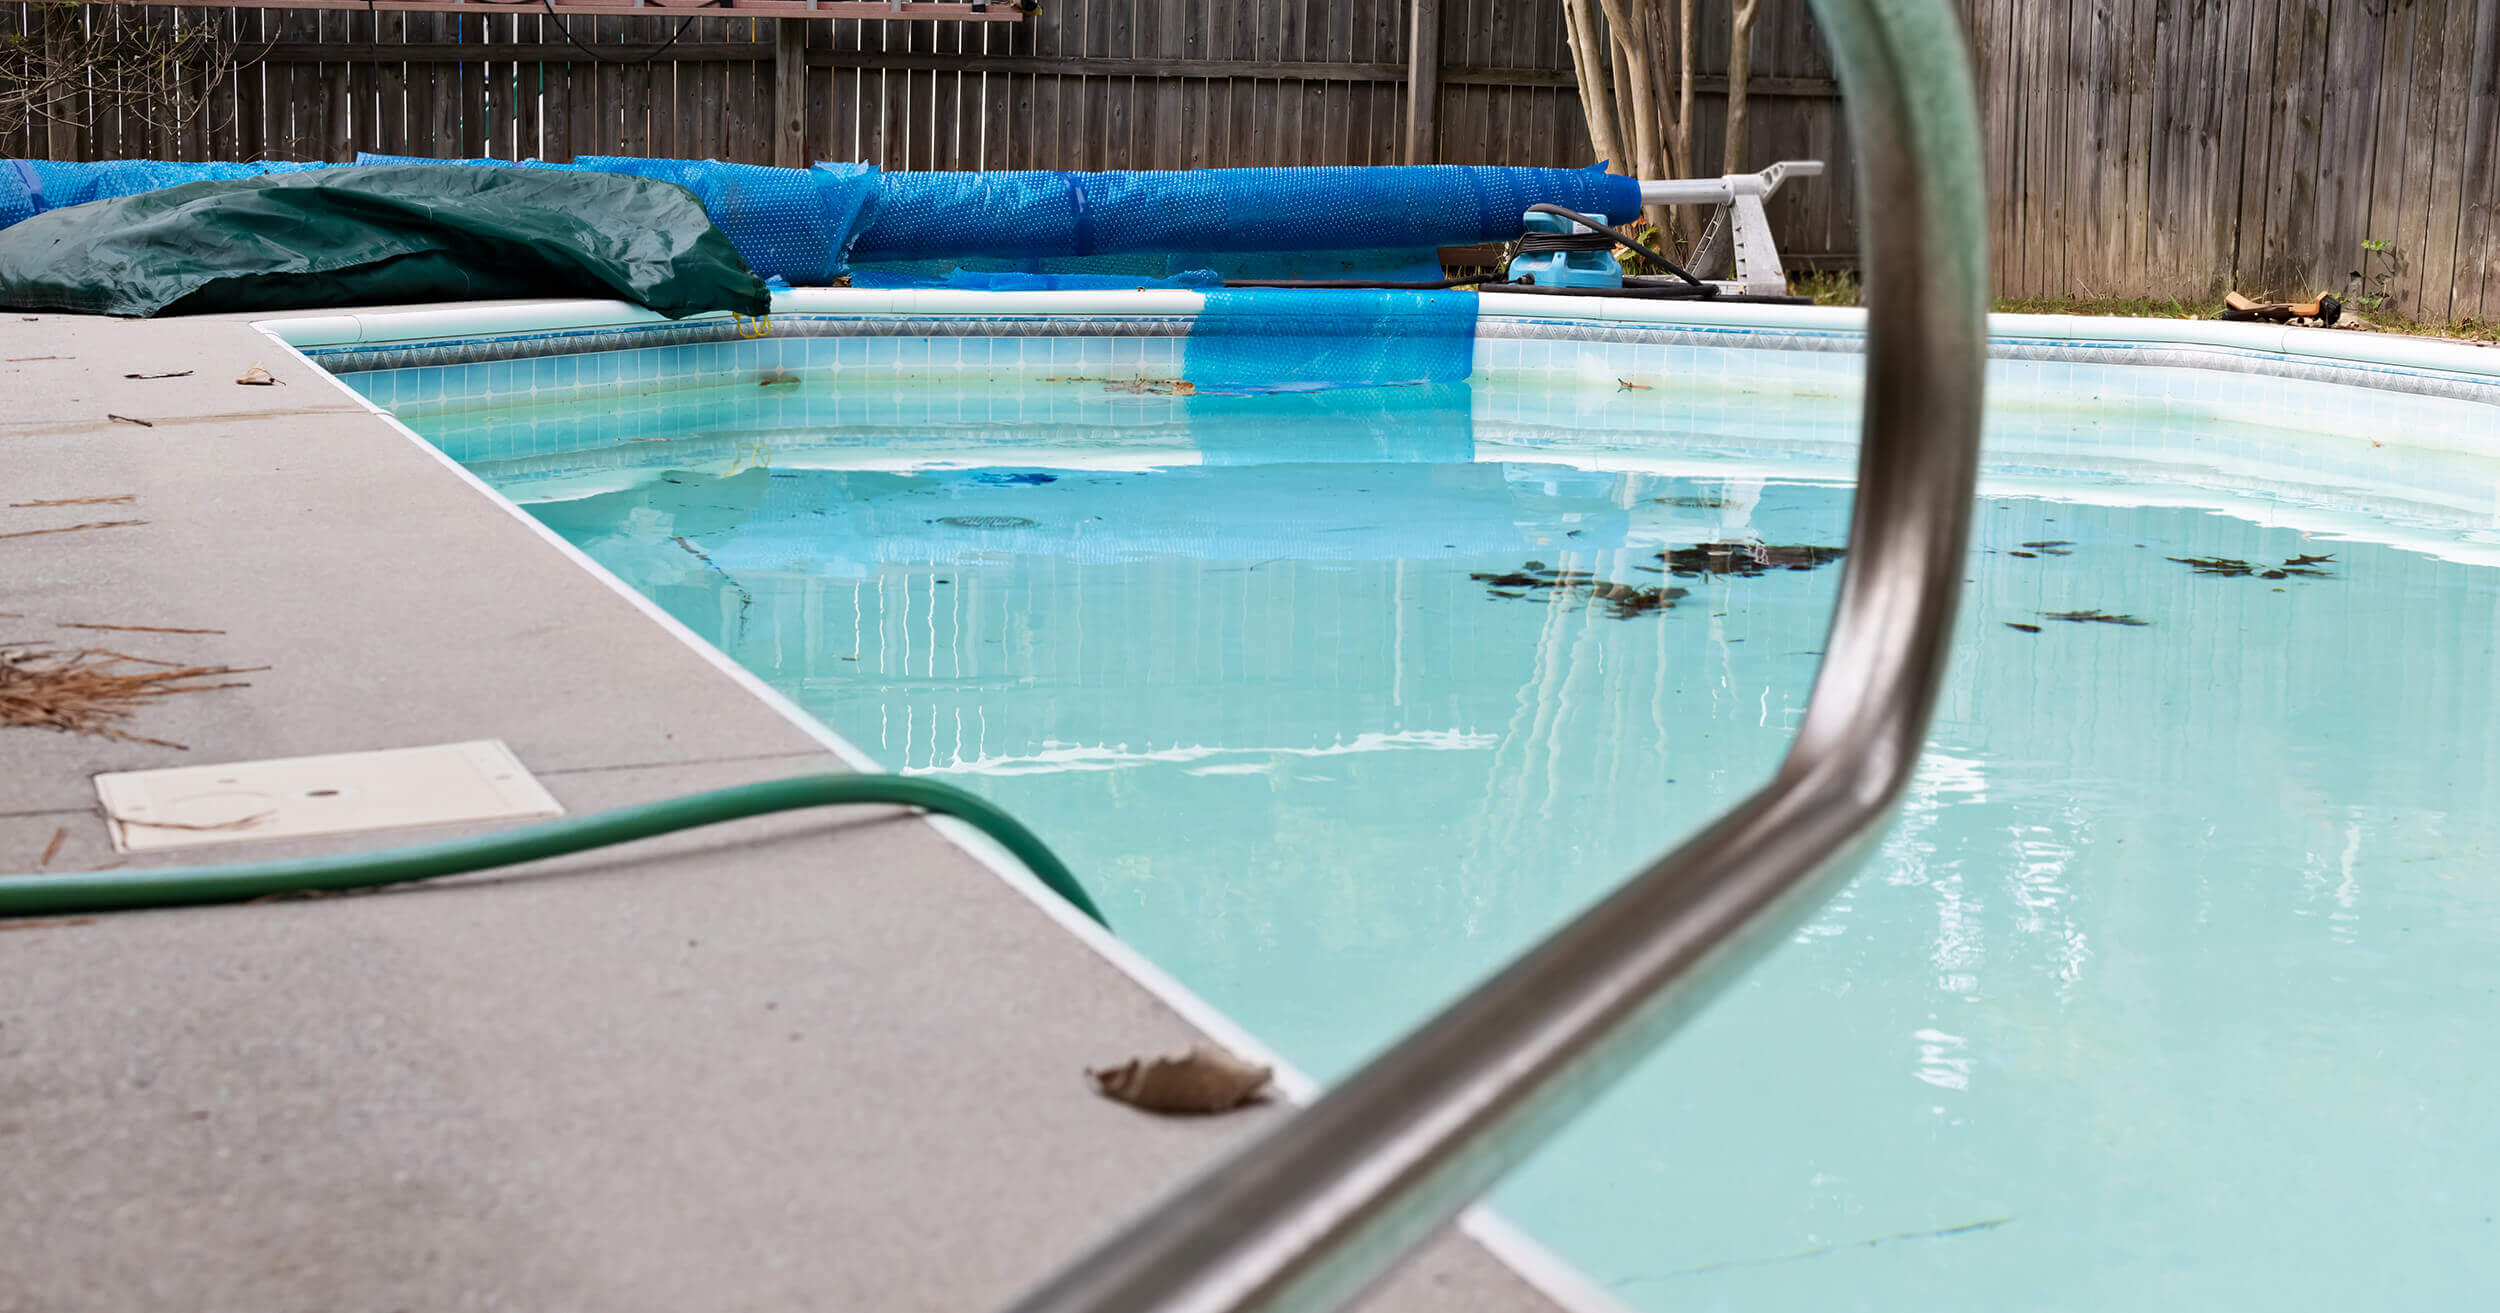
Step 1: Remove Debris
When removing debris from your pool, you must be thorough. Start by skimming the pool’s surface with a net to remove large debris such as leaves, twigs, and branches. Then, vacuum the pool floor and walls to remove any smaller particles that may have settled at the bottom.
Be sure to pay extra attention to the pool water line and step-outs, as debris and dirt can accumulate in these areas. The pool water line is where the water meets the pool walls, and step-outs refer to areas of the pool where there is a change in depth, such as stairs, ledges, and benches. Use a brush to scrub these areas and remove any built-up deposits that may be present.
Step 2: Clean the Pool Filter
If your filters have become clogged with debris, they cannot properly filter your pool water.
Here’s what you need to do to clean a sand filter:
- Turn off your pool’s pump and clear the skimmer box and filter baskets.
- Turn the multiport valve to the backwash setting.
- Turn the pump back on and let it run for 2-3 minutes or until the water in the sight glass becomes clear.
- Turn off the pump again and turn the multiport valve to the rinse setting.
- Turn the pump back on and let it run for 30-60 seconds.
- Turn the pump off again and return the multiport valve to the filter setting.
- Turn the pump back on.
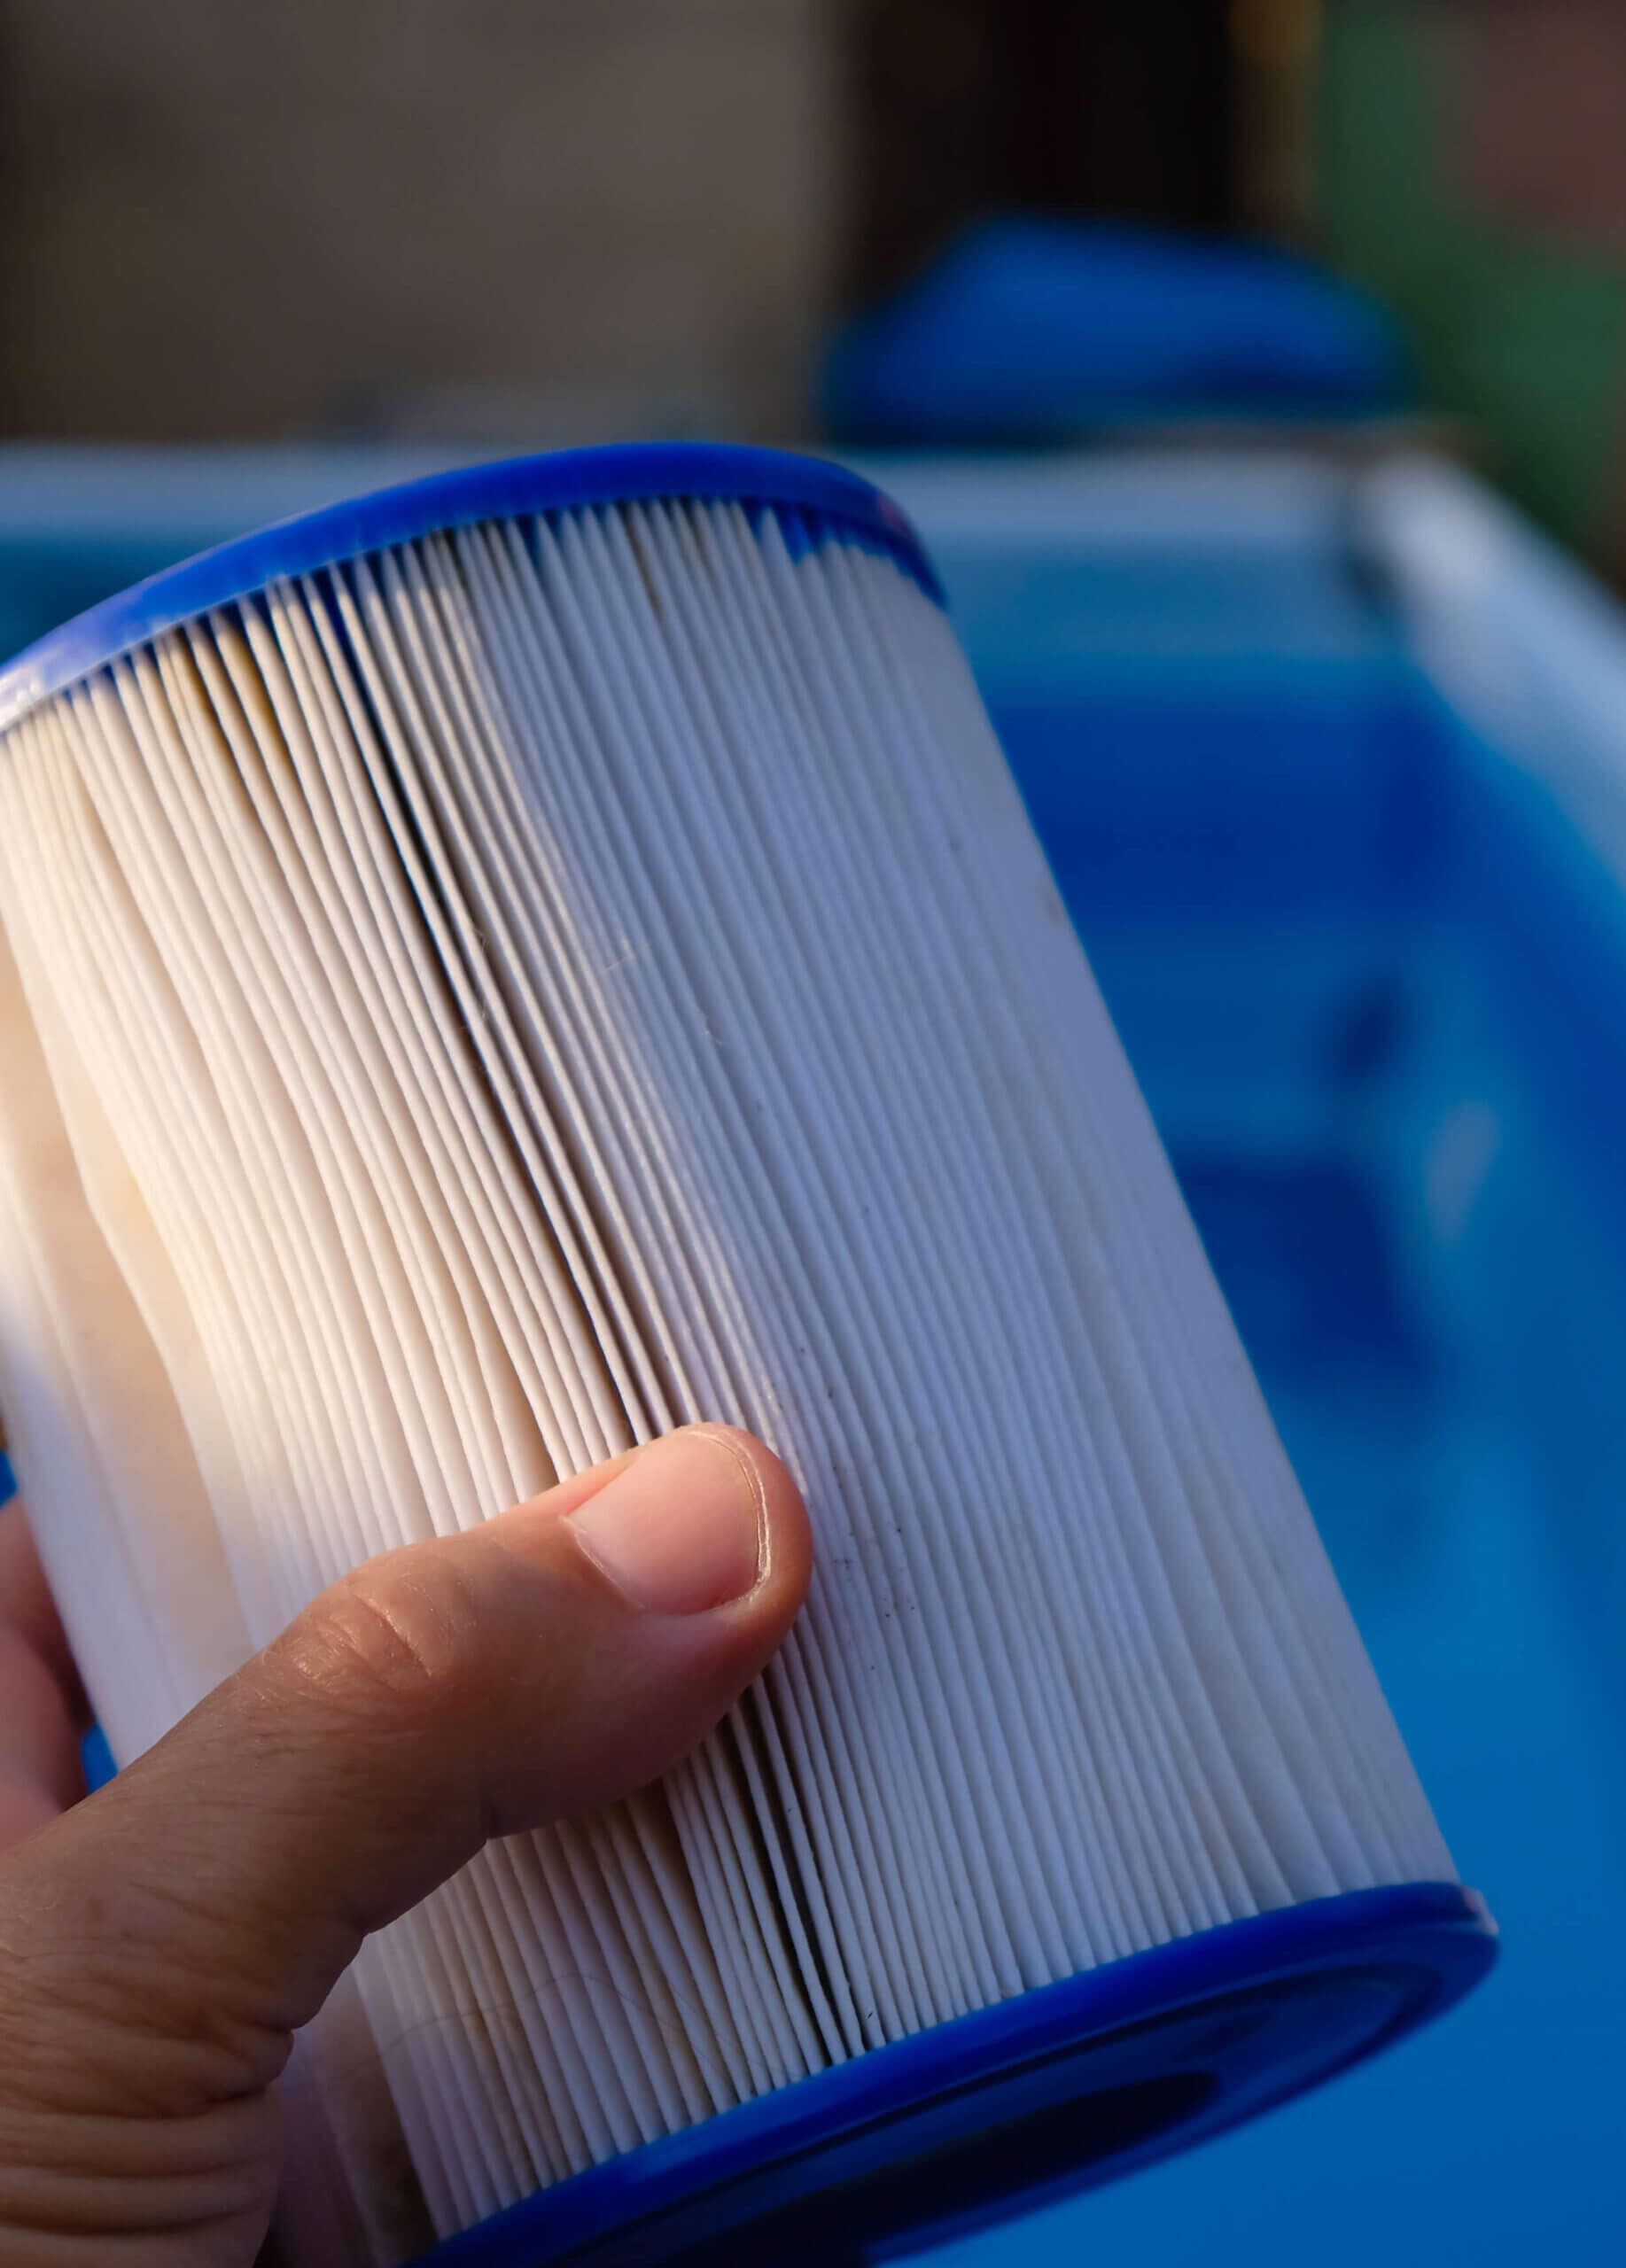
Here’s what you need to do to clean a cartridge filter:
- Turn off your pool’s pump.
- Remove the cartridge from the filter housing.
- Rinse the cartridge thoroughly with a hose.
- Soak the cartridge in a filter cleaner solution for the recommended time (check the product label). If cleaning with a hose is not enough.
- Rinse the cartridge again with a hose until the water runs clear.
- Reinstall the cartridge into the filter housing and turn the pump back on.
Step 3: Test the Water Chemistry
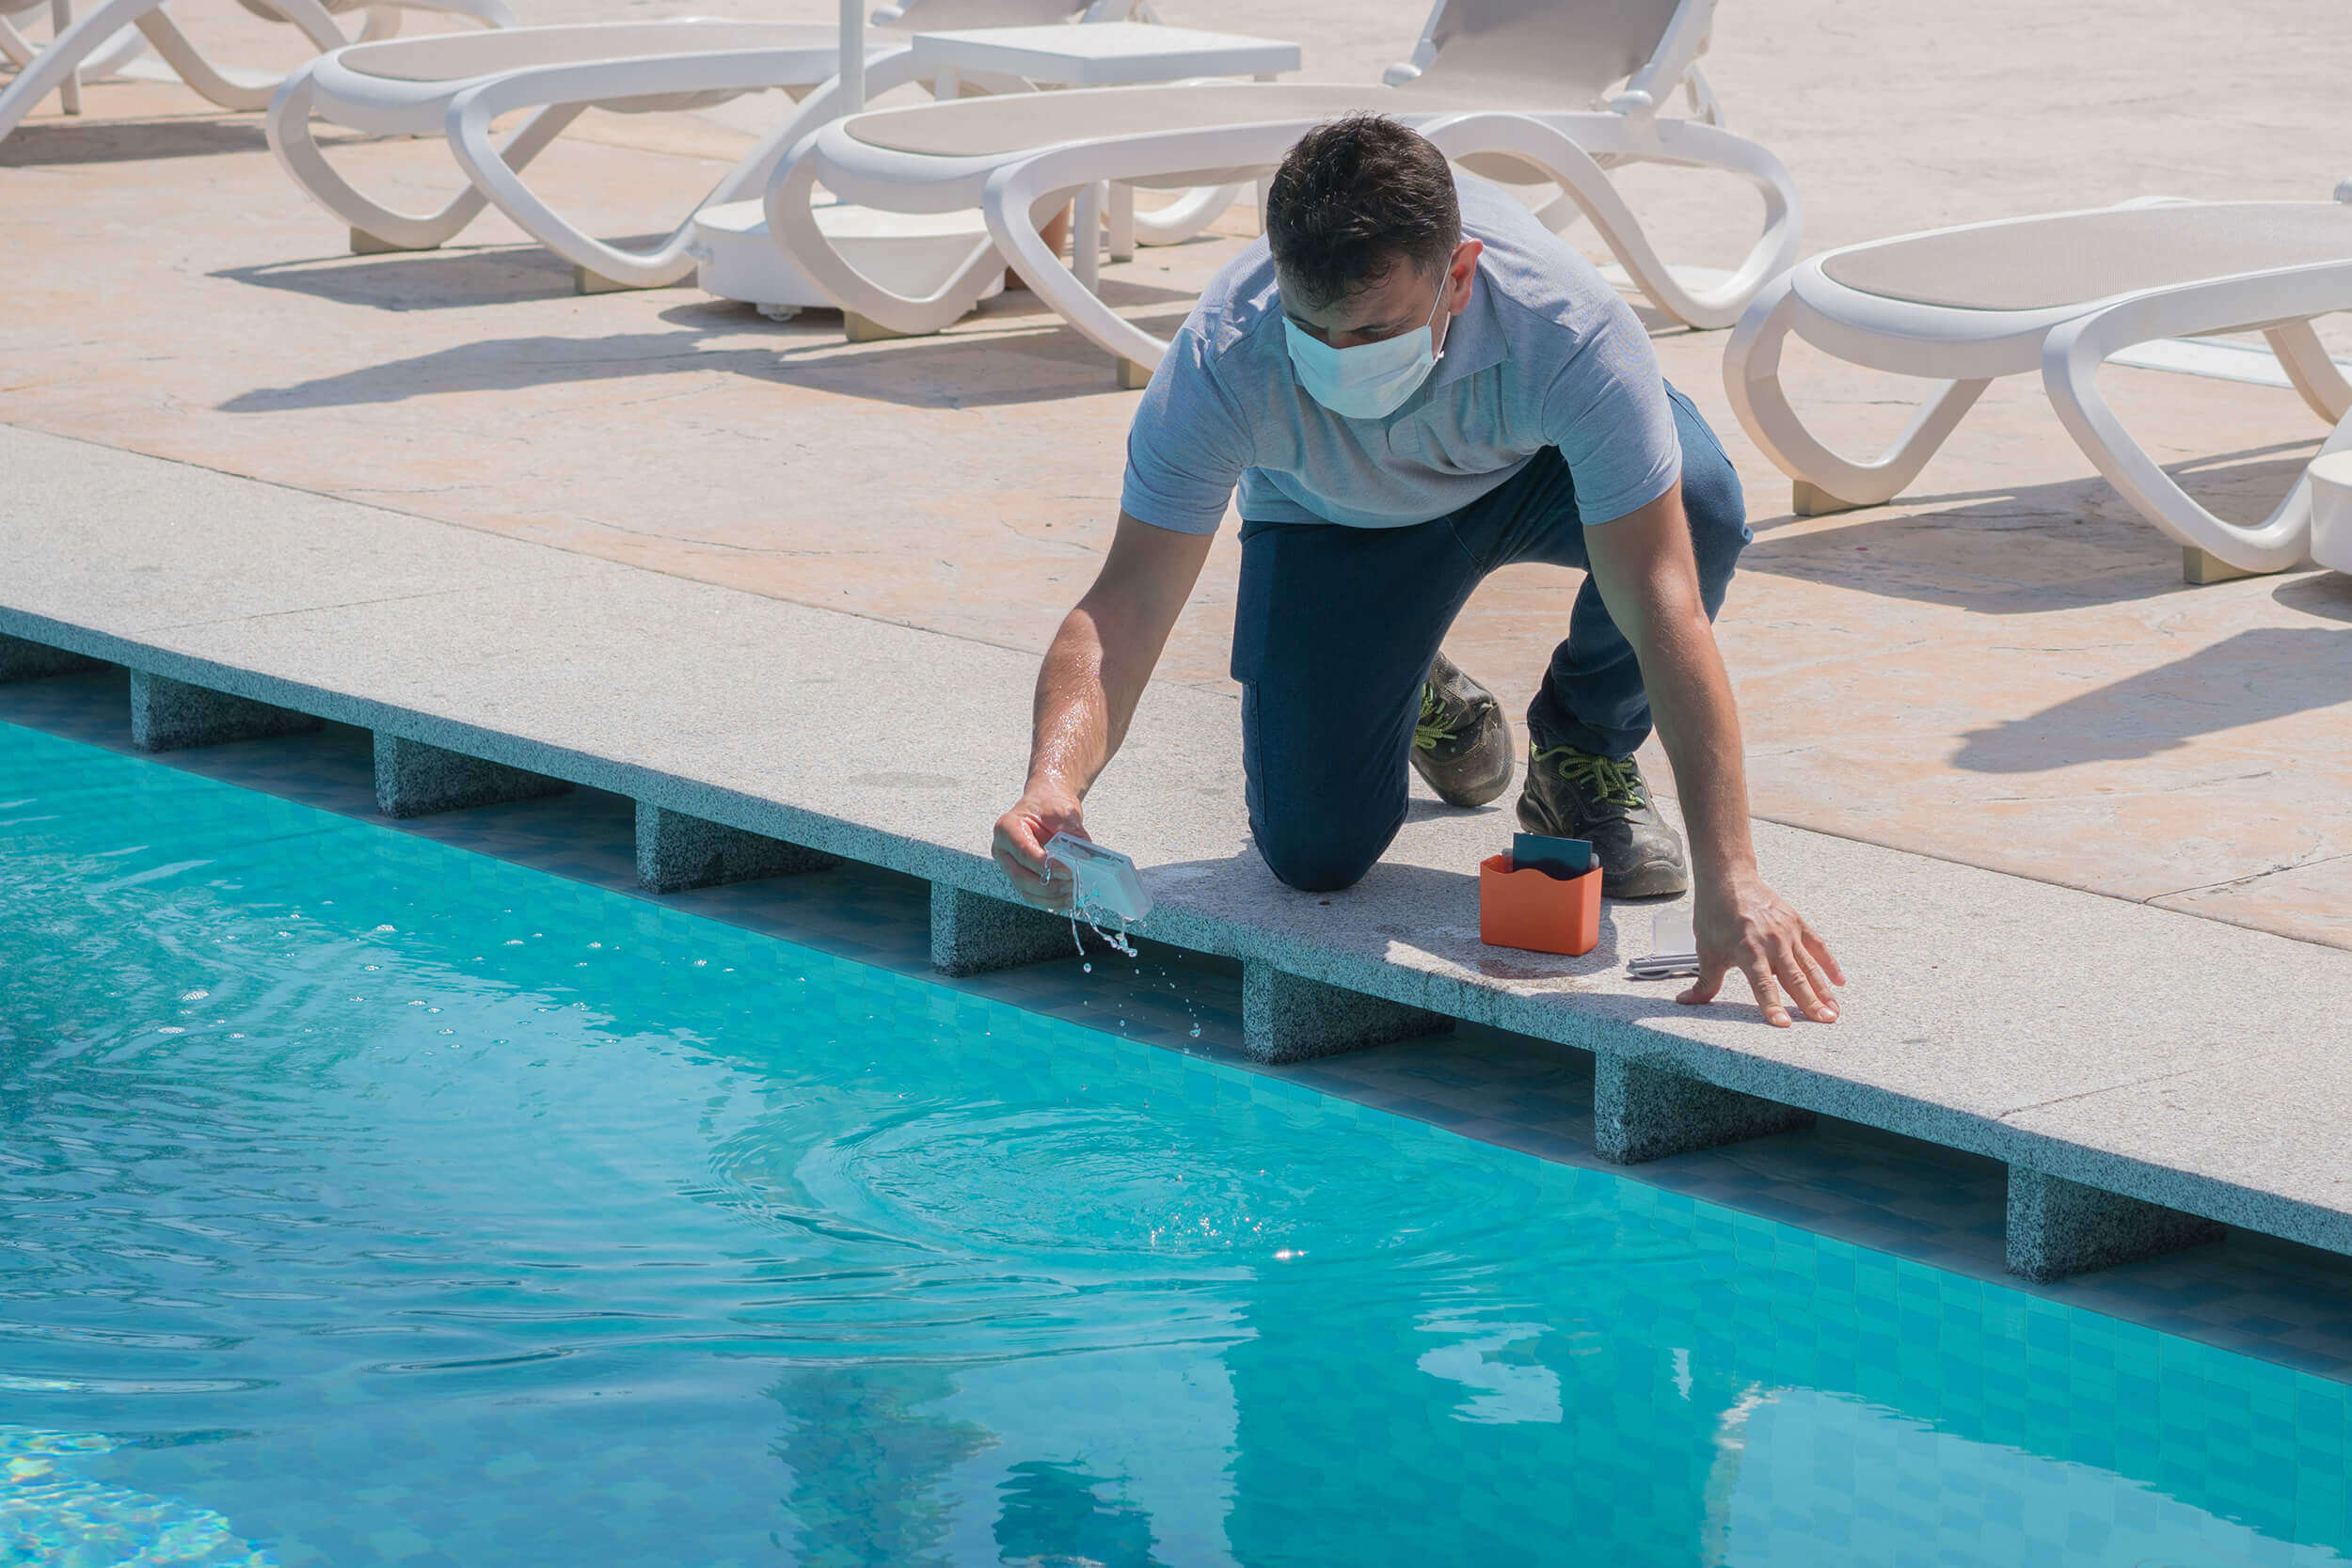
Test your pool water to check the chemical levels and adjust them, so the water is balanced and safe.
We recommend using these Hy-Clor products to achieve optimal water chemistry.
- Alkalinity increaser. Adjust your pool’s alkalinity to between 80-100 ppm (parts per million) using Hy-Clor Alkalinity Increaser.
- Balancer chemicals. Balance your pool’s pH levels to between 7.2-7.6. If the readings are off, use Hy-Clor pH Decreaser (dry acid) to lower the pH or Hy-Clor pH Increaser (soda ash) to raise it.
- Calcium increaser. Raise the calcium hardness in your water using Hy-Clor Calcium Increaser to a level of 200-400 ppm.
Step 4: Shock the Pool
After heavy rain and storms, bacteria and algae can accumulate in your pool water, making it cloudy and unsafe for swimming. You will need to shock your pool to rapidly raise the chlorine level in the water to destroy these harmful contaminants.
Follow these steps to shock your pool with Hy-Clor Super Shock.
- Test your pool’s water with Hy-Clor’s AquaChek Test Strips to determine the current levels of chlorine and pH.
- Add the recommended amount of shock treatment to a bucket of water and stir until it dissolves completely.
- Pour the mixture evenly around the perimeter of your pool.
- Run your pool’s pump and filter for at least 8 hours so the shock treatment distributes throughout the water.
- After 8 hours, test your pool’s water again to check the chlorine and pH levels.
- Wait until the chlorine level drops to a safe level (1-3 ppm) before swimming.


Step 5: Add Flocculant
Flocculent thickens small debris and contaminant particles and binds them together. They then sink to your pool floor so you can easily vacuum them up.
Wait 24-48 hours after shocking your pool before adding a flocculant to allow the shock treatment to do its job. Then, after checking that your water chemistry is balanced to the appropriate levels listed in step 3, you can add a flocculant.
To use Hy-Clor Flocculent, follow these instructions:
- Add the recommended amount to your pool water and allow it to circulate for several hours.
- Turn off the pump and let the water sit undisturbed for 48-72 hours, allowing the particles to settle to the bottom of the pool.
- Vacuum the particles to waste and then backwash or clean your filter to remove any remaining particles.
Step 6: Add Phosphate Remover
Phosphate remover starves algae of the nutrients it requires to grow, as well as improving filtration and reducing chlorine consumption.
Add phosphate remover to your pool after using a flocculant. Flocculants can cause phosphates to become more concentrated in pool water, making it more difficult to remove them.
To use Hy-Clor Phosphate Remover, pour the recommended dosage into your pool. Then treat with Hy-Clor Water Clarifier at a rate of 30ml per 10,000 litres. Run your filter continuously for at least 24 hours. After 48 hours, clean or backwash your filter. For more information, check the label on our Hy-Clor Phosphate Remover product.


Step 7: Monitor the Water
Keep an eye on your pool water and continue to test and adjust the chemical levels as needed until the water is clear and balanced.
Once you’ve correctly applied all necessary chemicals to your pool, turn on the pump and run it for at least 24 hours. This filtration will allow the water to circulate and the chemicals to distribute evenly. Then you can set your pump to auto again.
By following these steps, you can successfully recover your pool after heavy rain and storms and ensure it’s clean and safe for swimming.
Do You Need Help Recovering a Pool After Rain?
After heavy rain, pool recovery is vital for the safety of swimmers and to protect your pool equipment from damage.
Let the experts here at Hy-Clor help you pick the right pool cleaning and balancing products. We’ll have your pool back in top condition in no time!
Contact us via our online form. , or visit your nearest Bunnings Warehouse for our full range of products.


